This article gives a step-by-step guide on how to add different images to KeyMaps along with the text.
This can make the KeyMaps more clear and enhances the look and feel of the KeyMap.Prerequisites
- To access KeyMap features, the applicable Operator Privileges will need to be enabled
- Operator Maintenance 'Maintenance' Tab
- Products: "Maintain Keymap Settings" Flag
Step-by-step Guide
- Login to BackOffice
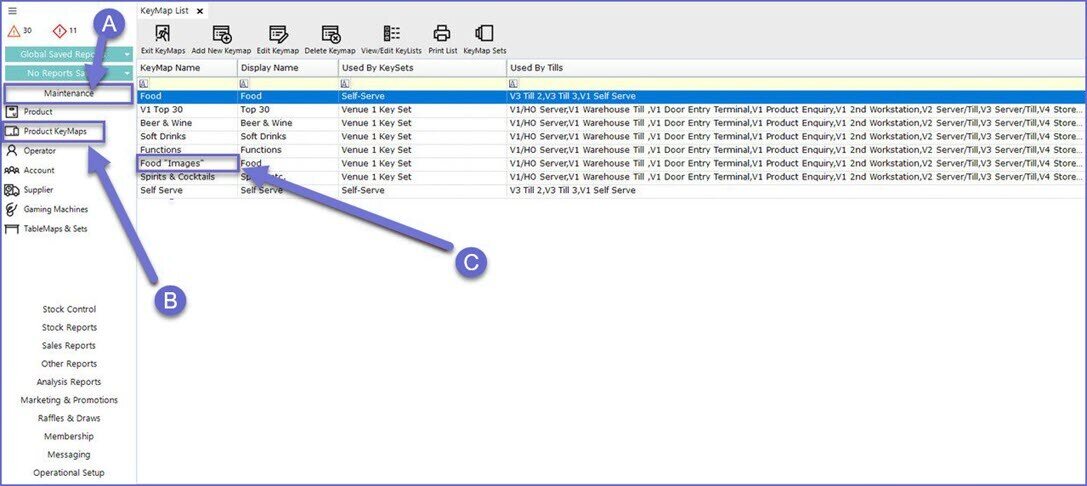
- Select the Maintenance drop-down menu (A)
- Open the KeyMaps option (B)
- From the KeyMap list select a Map to be edit (C) by double clicking
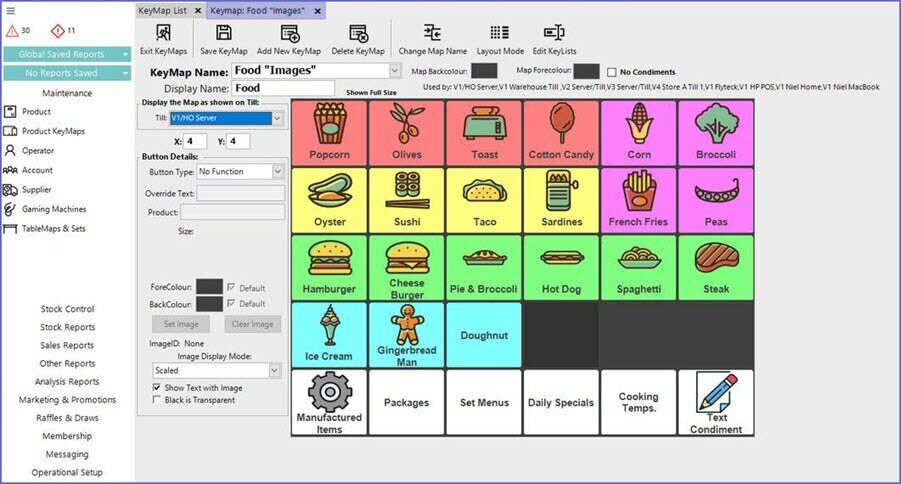
- A similar screen like below will appear
- To add an image to a button first select the Key (A) then press the Set Image button (B)
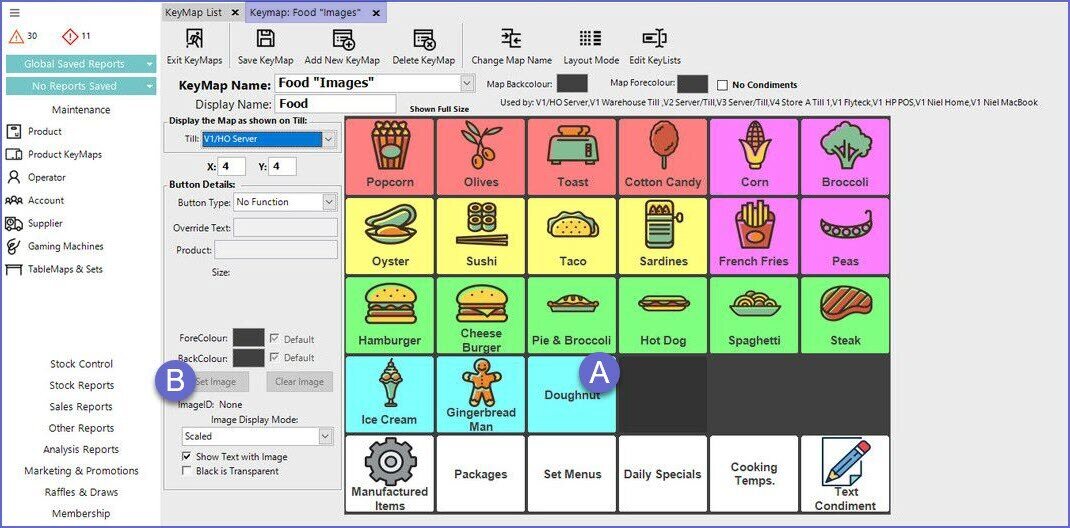
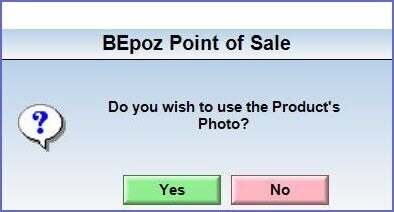
- If the product already has an image assigned then the Operators will prompted the question if they would like to use that image
- The product image will now be added to the KeyMap
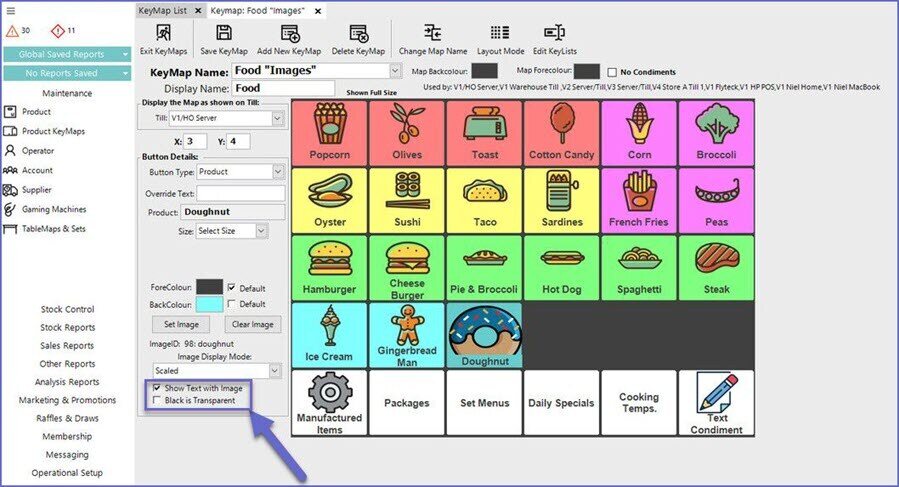
- Operators can also control the size of the image via the scale selection drop-down as shown below
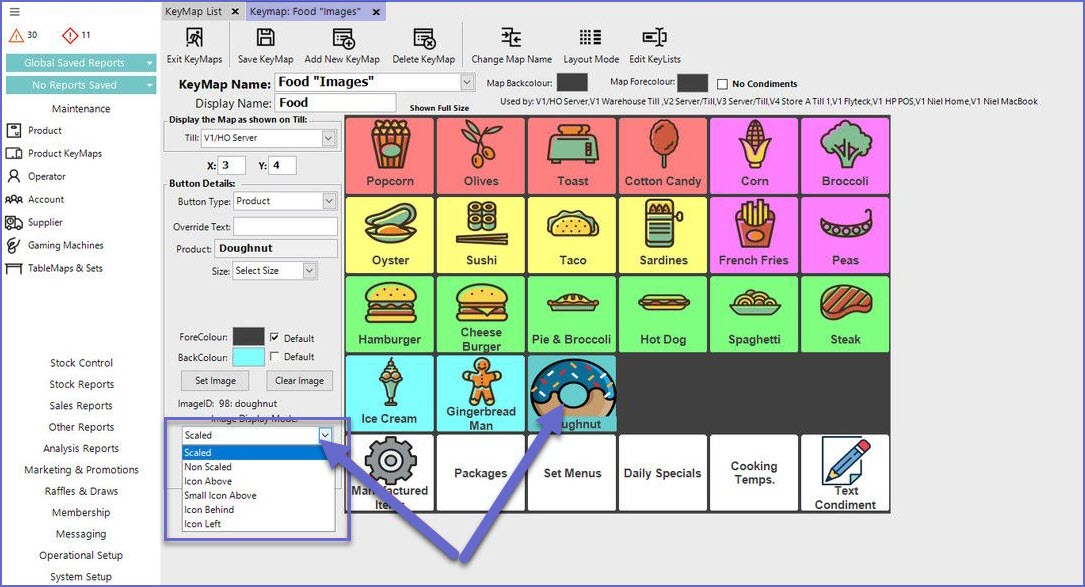
- Finally, there is also an option to hide the product text when an image is used as as make any Black within the image transparent as shown below