This article covers an overview of how to create a Product Label using XML Editor.
After reviewing this article, the end-user will be able to create their own Product Labels using XML Editor.
Prerequisites
- To access Product Promotion features, the applicable Operator Privileges
-
Marketing & Promotions Tab - Promotions "Create Product Labels"
Setting Up Product Labels
- The file name must start with "LBLPRD_*.xml"
- You will need to rename them as the above file name (the * represents the file name) eg - LBLPRD_Test.xml
- The LBLPRD_*.XML has to be saved to the 'Bepoz\Data\' directory, also to ensure you have a backup save a copy to the 'Bepoz\Programs\' directory.
How to use XML Editor
- Launch the XML Editor application - this should be under the workstation's Bepoz folder, under Programs called "xmleditorhost.exe"
- Navigate to File > New > A4 file
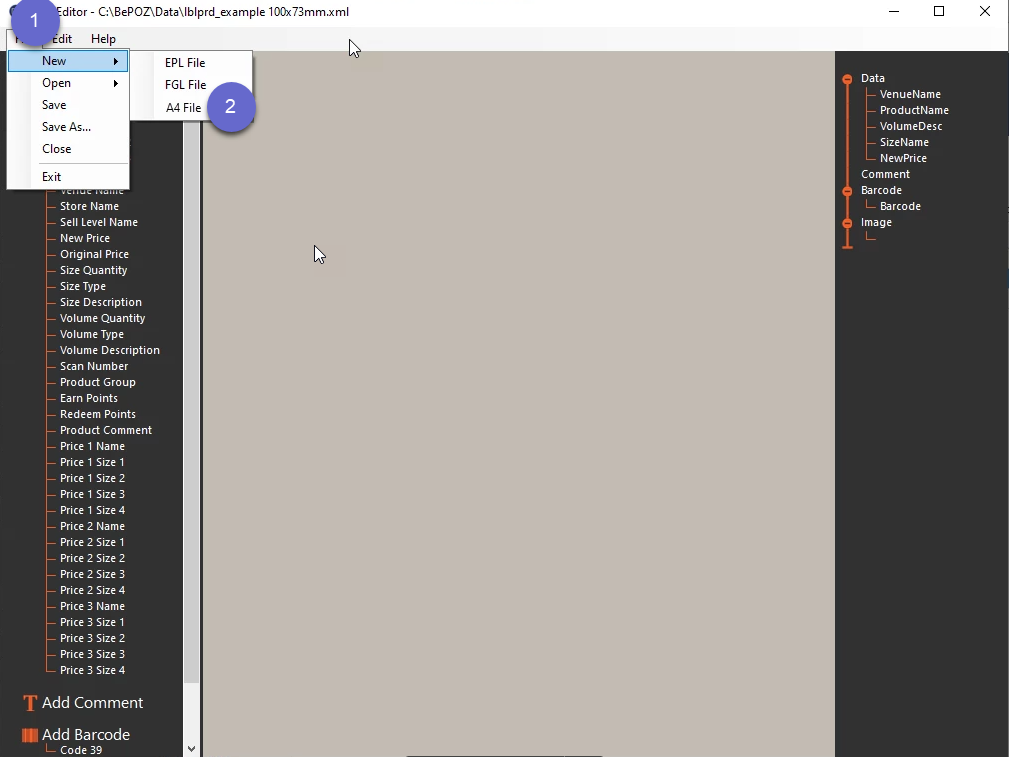
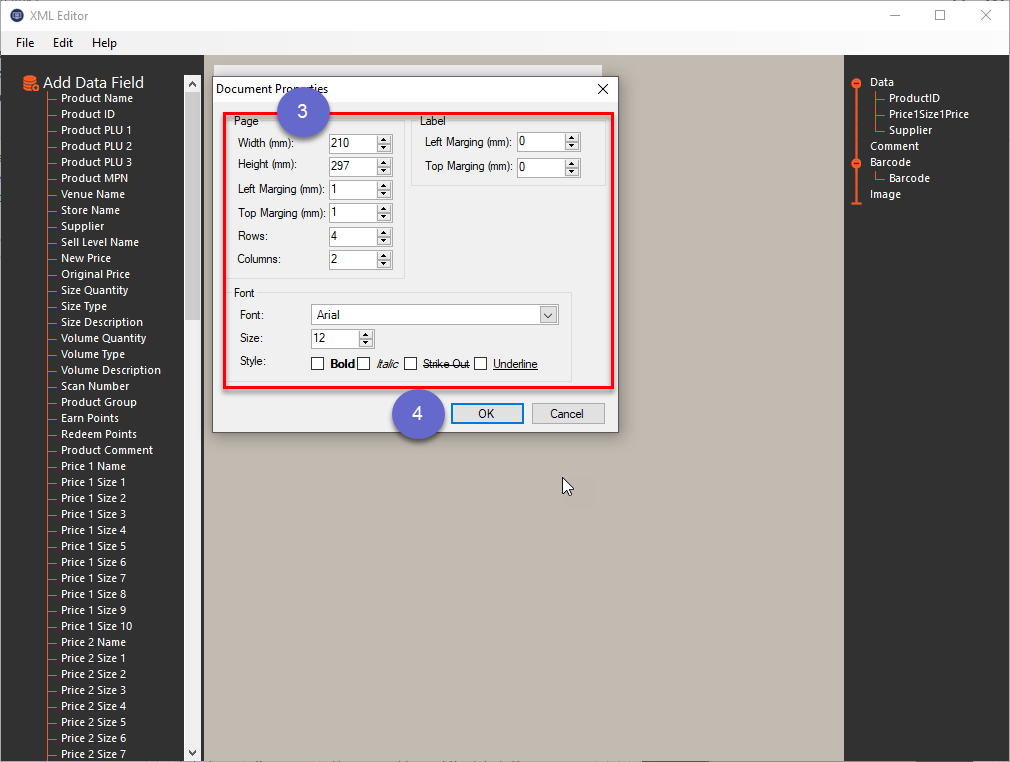
- Enter the label settings (in millimetres), else use the default settings given
- Select "OK"
Add Data Label
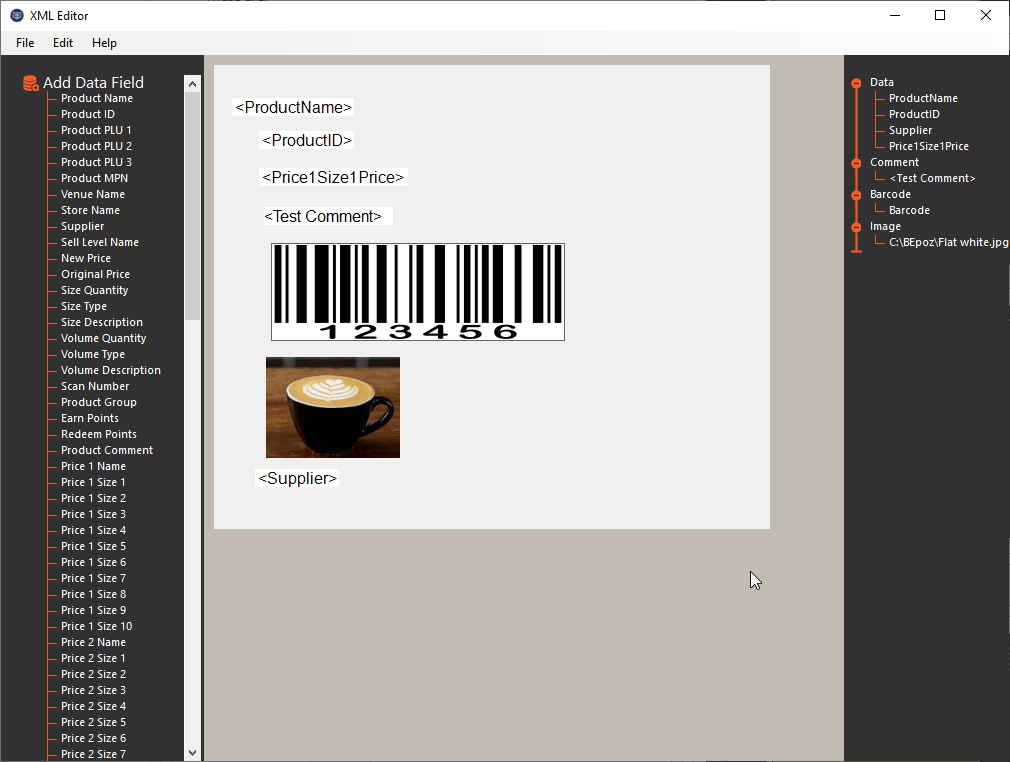
- A blank space will display
- Right-click on the page and select Add Element, and then Data options
- From there select the label fields desired
- See example below:
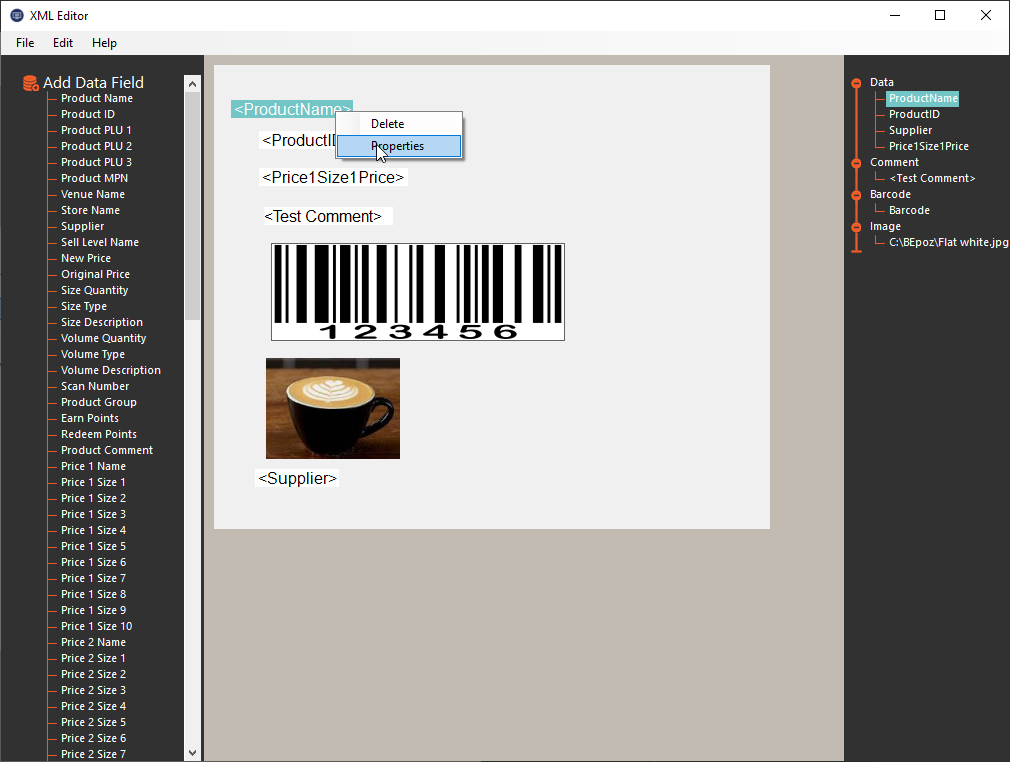
Edit/Delete Data Label
- To edit/delete the Data Label, right-click on the field and select Properties option
- A Label Properties window will display and allows you to edit the Font Size, Name, and Style; else select the Delete option that will remove the Data label
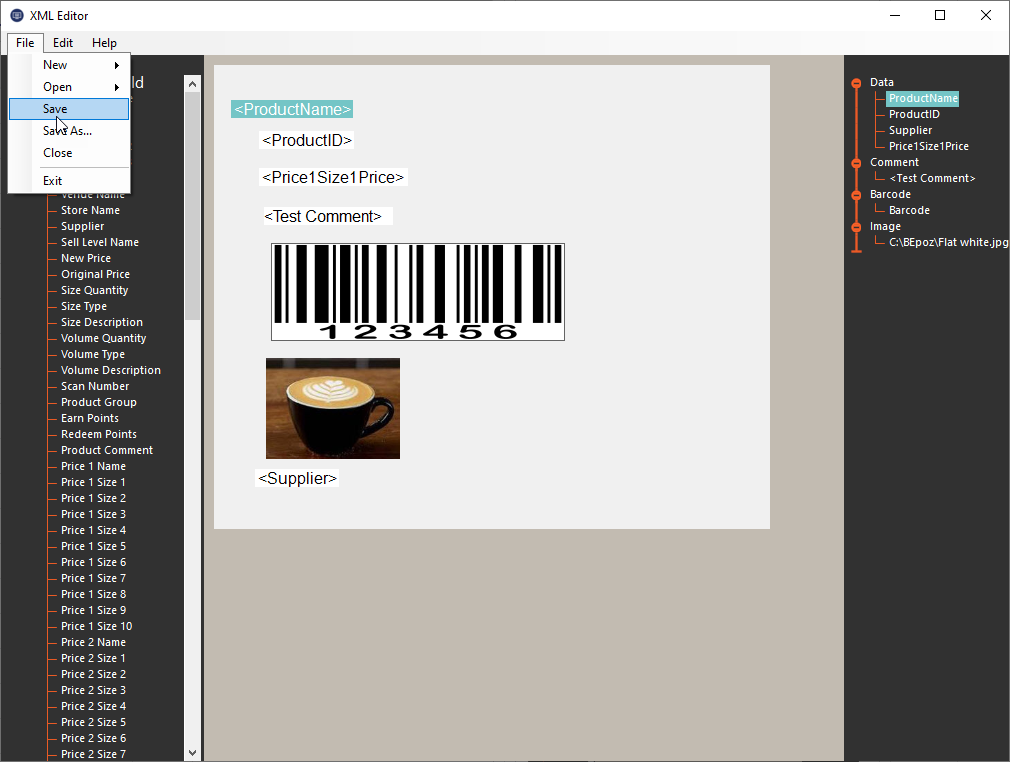
Saving Label and Edit an Existing A4 Label
- Navigate to File > Save
- Save it to under Bepoz\Data folder and name the file name LBLPRD_*.xml (the * represents the file name) eg - LBLPRD_Test.xml
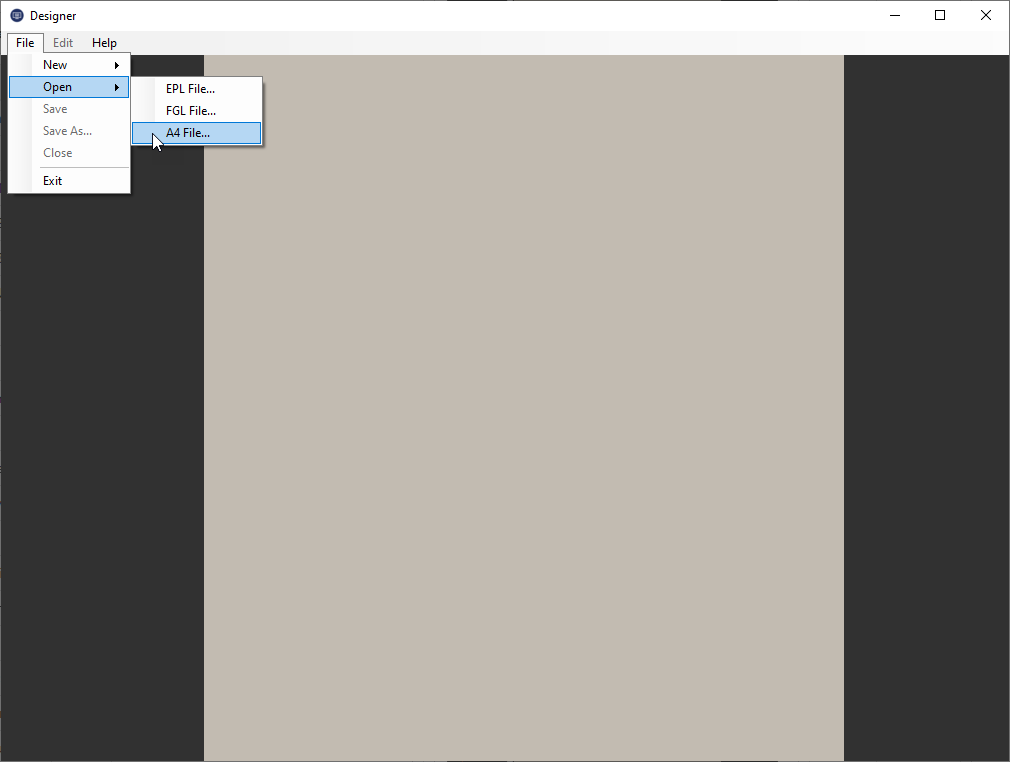
- To edit an existing A4 Label, Navigate to File > Open > A4 File
- Select the existing A4 Label and select Open
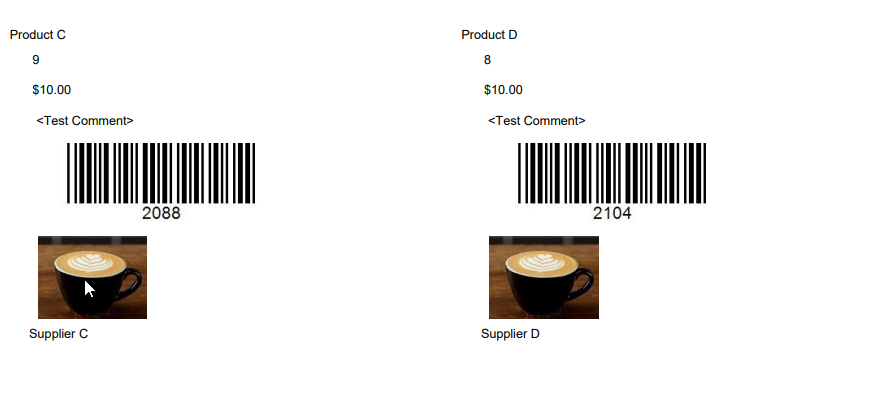
Test Label in BackOffice
- To test the label that has been created in XML Editor, open BackOffice and Navigate to Marketing & Promotions and select Product Labels
- Select the label from the drop-down list under Label
- Select Add Manual Item button
- Select the Product
- Enter the number of Labels EACH to Print and select OK
- Select the Store
- Select Print Labels
- Enter the number of labels to skip and select OK