This article covers a step-by-step guide to setup the Scheduled Job for importing LMG OnTap Data Promotions.
LMG OnTap Data Promotions can be retrieved into BackOffice automatically via a Schedule Job on a desired schedule. For importing LMG OnTap Data promotions manually, refer to
Prerequisites
- To setup Schedule Job to import LMG Ontap Data promotions, applicable Operator Privileges will need to be enabled
-
Operator Maintenance 'General' Tab - System Setup: "Maintain Schedule Job" flag
Setting up a Schedule Job
- Scheduled Jobs will retrieve Promotion information and import it directly into BackOffice based on the configured schedule
- To set up the BackOffice Scheduled Job, log in to BackOffice and complete the following steps:
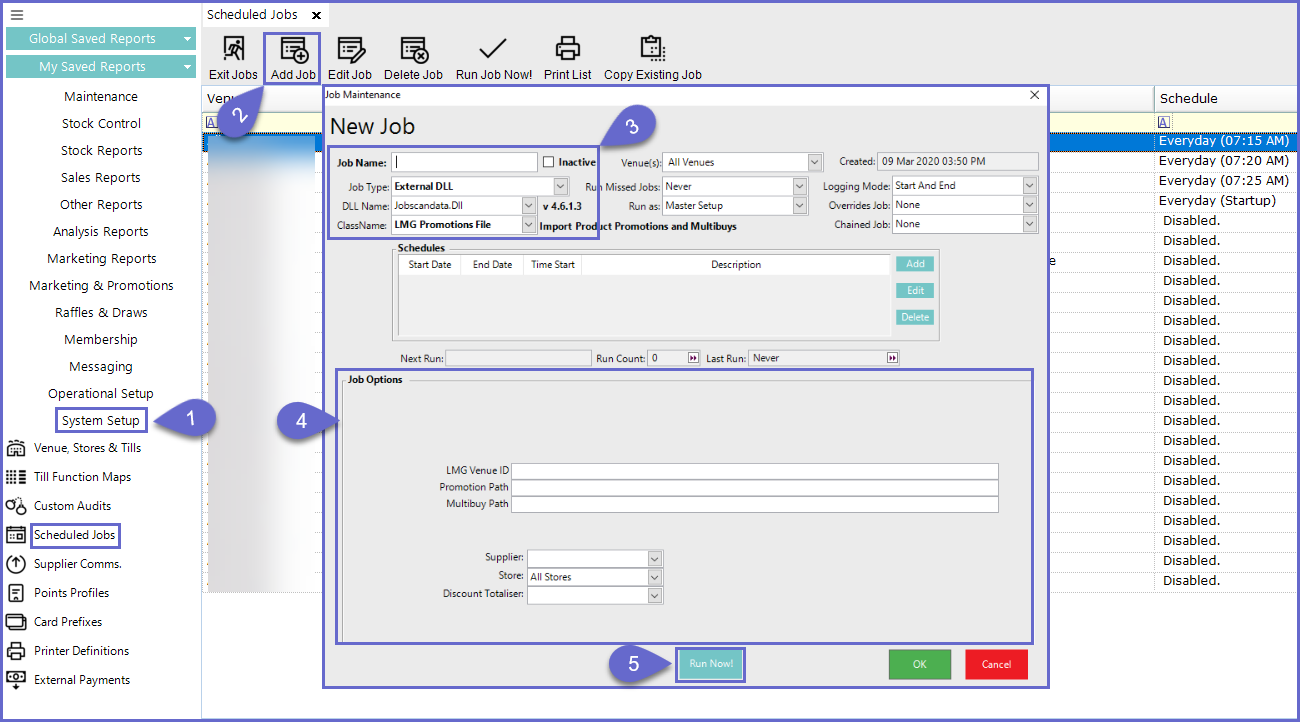
- Navigate to System Setup and select Scheduled Jobs
- Select Add Job button and the Job Maintenance window will open
- There are a number of credentials that need to input and they include:
- Job Name: Give the Job a relevant name
- Job Type: External DLL
- DLL Name: Jobscandata.Dll
- ClassName: LMG Promotions File
- Job Options will also require a number of configurations as well:
- LMG Venue ID: Supplied by LMG
- Promotion Path: The local file directory where the Promotion file is located
- Multibuy Path: The local file directory where the Multibuy file is located
- Supplier: Supplier for Imports
- Store: Enter a Store ID if the Promotions need to be filtered to a specific Store
- Discount Totaliser: Enter the Discount Totaliser that any Discounts attributed to the created Promotions will be added to
- Select Run Now! to run the Job immediately (as opposed to running based on the Schedule) and click OK to save the Scheduled Job
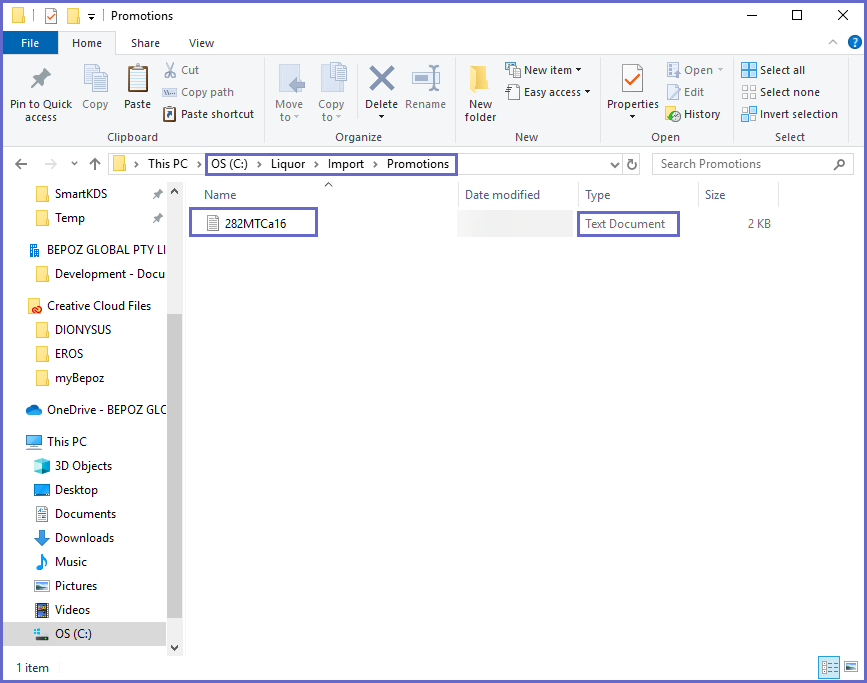
File Location
- File types will need to be saved to the File Path Directories that were defied in the Device Options and Job Options
- The File Paths used in this article are for demonstration and are merely a suggestion; place the Files wherever is best suited so long as the File Path is correctly defined in the Device Setup
- Promotions files should be in a .txt file format
- Multibuy files should be in a .xml file format