
This article covers the ‘Main’ section in “Locations” settings on the Myplace backpanel. The main section is used to configure the contact information, external links and service times of a location. These fields will appear on a variety of screens in the app.
Single-locations and multi-locations will have different available fields.
"Venues" have been renamed to "Locations" from version:
- App: 6.3.14
- Backend: 6.3.22
- Backpanel: 6.3.14
Prerequisites
- To access and edit ‘Venue’ settings, the applicable Roles Privileges will need to be enabled
- Roles "Roles Maintenance" panel
- Privilege Flags: "System Setup"
Main
- The 'main' tab has the general configurations for Locations. This can include contacts, an address, external links and operating times. There are two different views in this tab, Single Venue and Multi Venue.
- Single venue is used when a Myplace app only contains one venue. This view is used mainly for standalone businesses that have one location.
- Multi Venue is used for businesses that have several venue locations and may need multiple venues added to the Myplace App. This view will have fewer fields in the 'main' configurations tab, as some of the fields available in the single venue are moved to the 'Venue Setup' screen.
- All fields in this tab are optional. Although fields that are not used will prevent some functionality from working, such as linking to external websites or areas on the app may appear empty
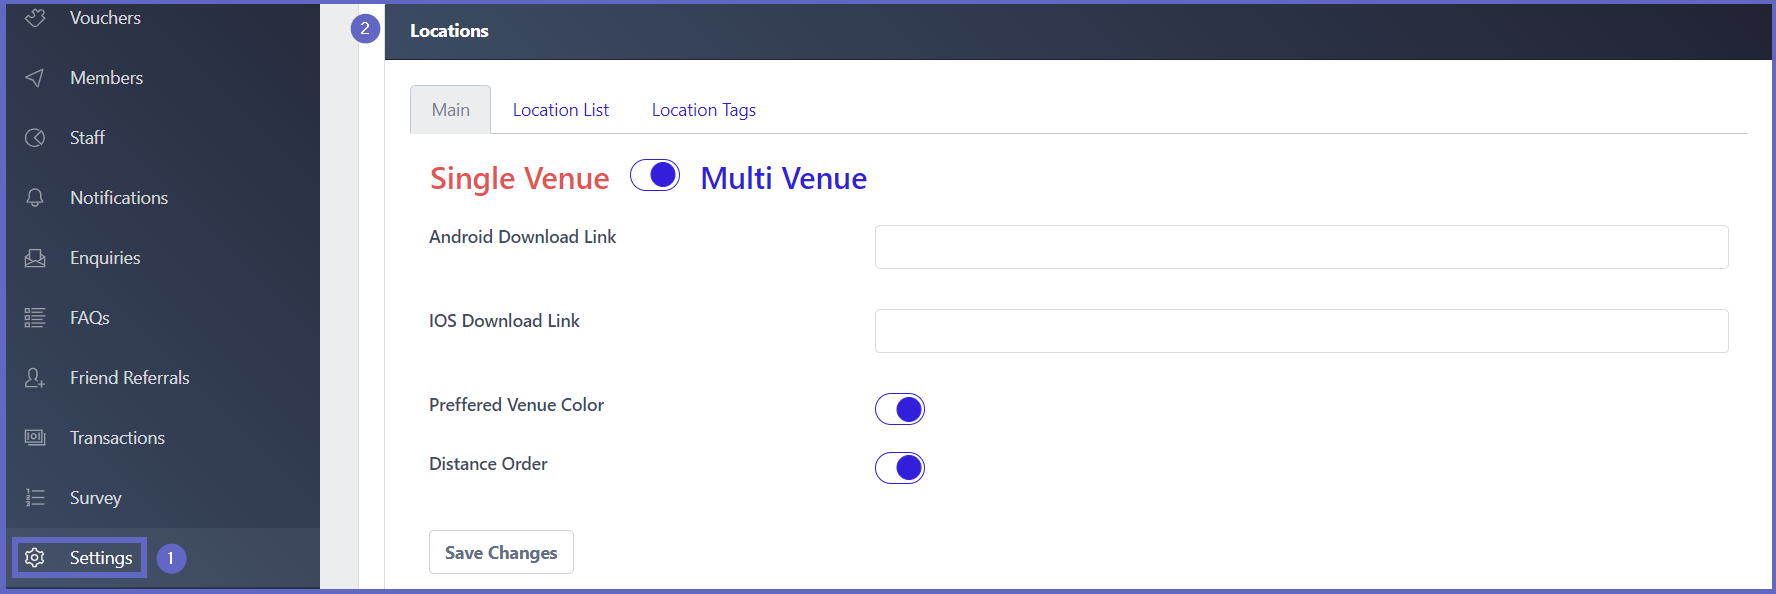
- To access the 'Main' tab, use the following steps after logging into Myplace Backpanel:
- Click Setting on the menu sidebar
- Click Location. By default, the 'Main' section will be displayed
Single Venue
- Single Venue is for businesses that have only one venue that needs to be placed in the Myplace app
- The following procedure below will guide users through a full configuration of the 'Main' tab on a Myplace app with a single venue. Each step is optional, although the more fields that are implemented the more information is displayed to customers, which can increase user interaction with the app and venue.
Procedure
Step 1 - Single Venue
- The toggle at the top of the 'Main' tab is used to switch between Single Venue view and Multi Venue view.
- Click the toggle, If it is red then Single Venue is on

Step 2 - App download links
- This section allows links to the downloadable app on android and IOS devices.

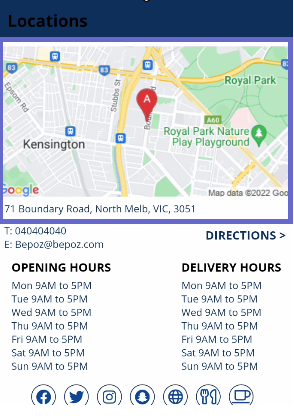
Step 3 - Address
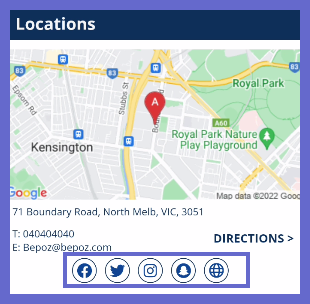
- This field is used to input the location of the venue for customers to find the exact site

- It will appear on the locations screen in the app, alongside a map with the location pinned.
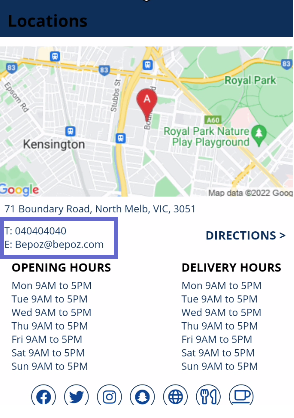
Step 4 - Contact
- There are three ways that a customer can contact the venue directly:
- Telephone
- Fax
- These fields provide a way to add contact information to connect the customers and venue. Providing these allows customers to make enquiries and bookings

- They will appear on the locations screen in the app and are clickable
- If a user taps the telephone number, it will bring up the Phone app on their device with the number automatically inserted
- If a user taps the email, it will open a mailing system and have the email address automatically placed in the 'To' field
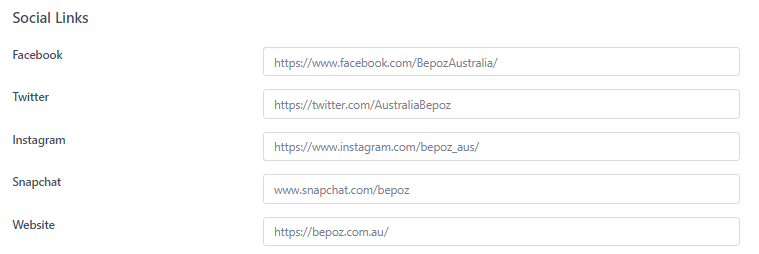
Step 5 - Social Links
- This section outlines the links that connect customers to the venue or businesses' social media pages. Providing these links may increase marketing potential as customers can go to these pages and follow the organisation
- There are 4 supported social media platforms in this area:
- Snapchat
- For each link to a social media platform, the input format should look similar to, www.socialmedia.com/businessname
Replace socialmedia with the desired platform (e.g. Facebook,twitter,Instagram,snapchat) and businessname with the company name.
Alternatively, users can go to the company page on the social media platform, E.g. https://www.facebook.com/BepozAustralia/ and copy paste the link into the correct field
- There is also a field called website where users can add their business website
- On the app, these links will appear as icons on the location page
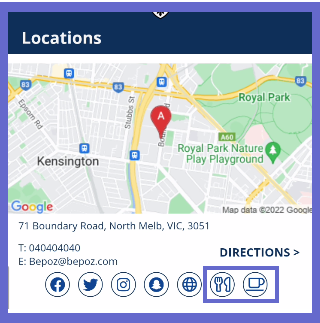
Step 6 - Menu Links
- Menu Links provide a opportunity for businesses to attach a URL link to a menu within the venue. Menu Links allow users to see products at the site before attending the venue

- These appear on the locations screen of the app as a icon
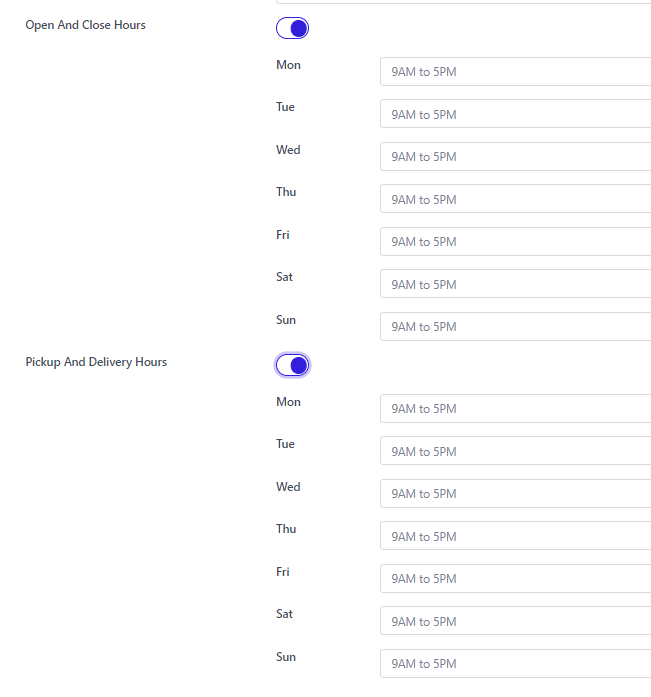
Step 7 - Operating Hours
- This section is used to display the operating hours of the venue. It allows customers to see when the business is open and when certain services are available
- There are two toggles:
- Open And Close Hours
- Pick Up and Delivery Hours
- Click the toggle for Open and Close Hours, if the toggle changes to blue then this feature is active. A field for each day of the week will also appear for users to input the opening and closing hours of the venue. To deactivate this click the toggle again.
- The toggle for Pickup and Delivery Hours will work exactly like the Open and Close toggle. This is used to show customers the time period for pickup and delivery services
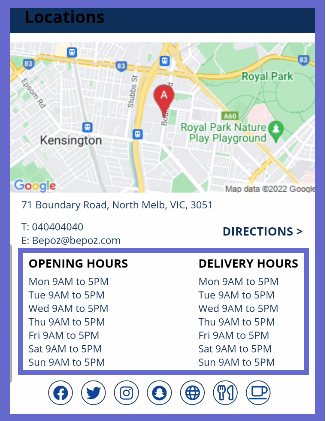
- These configurations will appear on the app within the locations section. It will display the inputs from backpanel and the weekdays
Step 8 - Save
- any configurations made during this procedure will need to be saved. Click Save Changes at the bottom of the main section and a prompt will appear in the top-left corner, displaying that the changes were successful. If this button is not pressed all modified configurations will be cancelled.
Multi Venue
- Multi Venue is used for businesses that want to include multiple venues into the Myplace app
- The following procedure below will guide users through a full configuration of the 'Main' tab on a Myplace app using Multi Venue
Procedure
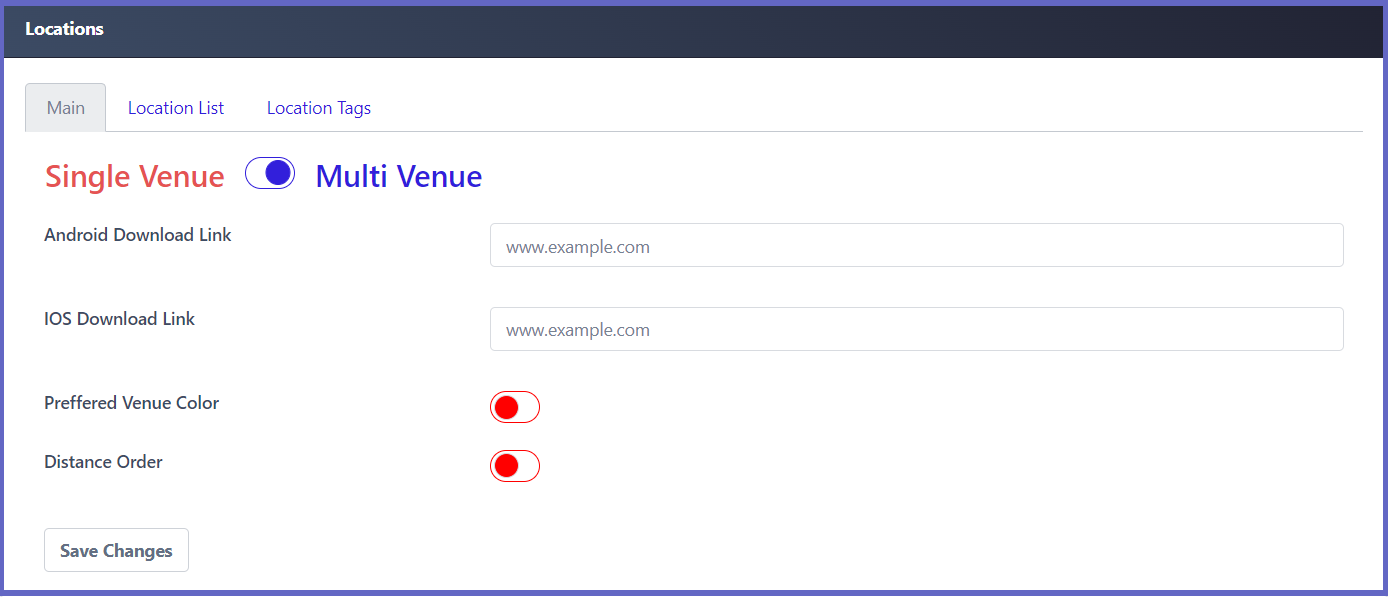
Step 1 - Multi Venue
- The toggle at the top of the 'Main' tab is used to switch between Single Venue view and Multi Venue view.
- Click the toggle, If it is blue then Multi Venue is on

Step 2 - App download links
- This section allows links to the downloadable app on android and IOS devices
Step 3 - Display Order
- Displays venues in an order based on the distance from the user to each venue.
- For this to work, longitude and latitude fields will need to be set in the 'Main Info' tab of the 'Venue Setup' panel. Refer to the article, 'Venue Setup | Main Info' for more details.
- If longitude and latitude are not set up and this feature is enabled then the venues will be ordered alphabetically instead as there are no values to calculate the distance.
- ON (Blue): If longitude and latitude fields are set up then venues will be listed from shortest to longest distance to the user
- OFF (Red): Venues will be displayed in alphabetical order

Step 4 - Save
- any configurations made during this procedure will need to be saved. Click Save Changes at the bottom of the main section and a prompt will appear in the top-left corner, displaying that the changes were successful. If this button is not pressed all modified configurations will be cancelled.