
This article explains how to receive a Stock Transfer which was created using the SmartPDE Mobile App.
Prerequisites
- Minimum Bepoz version of 4.7 and onwards
- Completion of SmartPDE Mobile App Setup in the given order:
-
SmartPDE Mobile Licensing & Installation -
SmartPDE Mobile Workstation Setup -
SmartPDE Mobile Scheduled Job & Configurations -
SmartPDE Mobile Database Settings -
SmartPDE Mobile HomePage - To access Receive Transfer functions within the SmartPDE mobile application, the applicable Operator Privileges will need to be enabled:
-
Operator Maintenance 'Stock Control' Tab - Transfers & Adjustments: "Receive Stock Transfers" Flag
- Transfers & Adjustments: "Post Stock Transfers" Flag
- Transfers & Adjustments: "Post My Created Transfers" Flag
Receiving a Transfer
- Note: It is a good practice to retrieve the latest copy of the database before performing any stock operation within the SmartPDE Mobile App; this ensures the data integrity is maintained between the SmartPDE Mobile App and the local database in BackOffice
- For info on how to get a new database, please refer to
this article
- To get started, login into the SmartPDE mobile app using a valid Operator ID
- Click on the "hamburger"-style icon on the top left of the application screen and click on the 'Receive Transfer' option in the side menu
- This will open the Receive Transfer home screen
- Proceed to select the Venue where the Products were transferred to which they are now being Received into
- Note: To enable Default Venue and Store, please refer to
this article
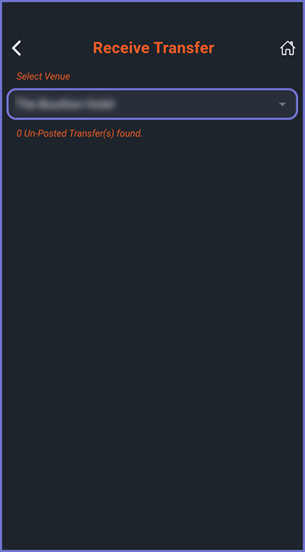
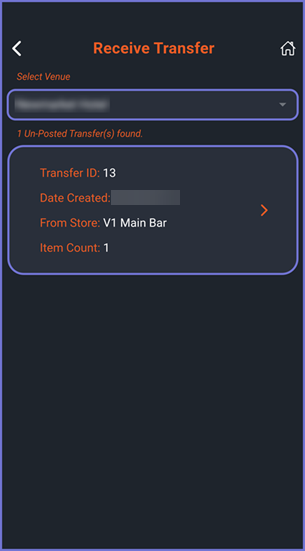
- After selecting a desired Venue, the Un-Posted Transfers for the Venue will be visible via different cards
- Click on a desired card to view the Transfer receipt
- The Transfer Receipt will contain the following data fields within them:
- Transfer ID
- Total Items
- Date Created
- To Store
- From Venue
- From Store
- Status
- CostEx
- Product Card
- The Product Card will contain the following data fields:
- Status
- Product
- Sent Units
- Received Units
- Within the Transfer Receipt, click on the 'Message' button (envelope icon) at the bottom to Receive the Stock Transfer
- A message will be displayed on the homepage, "Transfer #ID has been received!"

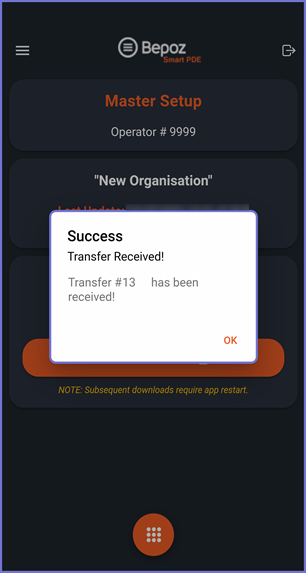
- With this message, the Stock Transfer has been received within BackOffice
- All the quantities are updated and the status of the Transfer is set to 'Completed'
- The Operator can go to the 'Stock Control' -> 'Stock Transfer' i.e. the Transfer List and check against the Transfer ID to view the details of the transfer