
This article covers how-to Save Reports in BackOffice.
Saved Reports is a powerful tool that allows the exact settings of a generated Report to be saved
There are three types of Saved Reports: Personal; Global; and Global Hidden
Prerequisites
- To be able to Create, Edit and/or View reports, the applicable Operator Privileges will need to be enabled:
- Operator Maintenance 'Reporting' Tab
- 'Sales Reports' Flags
- 'Other Reports' Flags
- 'Global Reports' Flags
Saving Reports
- Personal Reports are only available to the Operator that created the Report
- Global Reports are Saved Reports that are available for all Operators with the ability to login to BackOffice and with reporting privileges
- Global Hidden Reports are very similar to Global Reports just that they are not seen in the Global Saved Reports drop-down menu
- They are only accessible through the Saved Reports option in the Other Reports Menu
- Any changes to the settings, as well as deleting of Saved Reports, can also be done from the Saved Reports option
- To retrieve and run a Saved Report, click the drop-downs in the Alert/Saved Reports area in BackOffice
- To save a Report, click the Save Reports button after generating the Report
- If messaging is enabled, Reports must be Saved Globally to have them scheduled to run automatically
Step-By-Step Guide
- To save a Report, click the Save Report button in the Header Section of the current tab, after generating the Report
- If messaging is enabled, Reports must be Saved Globally to have them scheduled to run automatically
- Below is an example of how to Save a Report and schedule it to run automatically and be emailed to that Operator
- Run the Report which is to be saved with the correct display period, accurate view, and any necessary filters
- Click Save Report which will open the following prompt
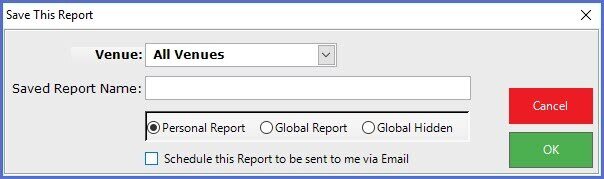
- Fill in the Report's name and choose the Report Type; i.e., Personal, Global or Global Hidden Report
- To Save a Report without Scheduling it to be sent via Email, simply click OK and the Report will be saved to the corresponding drop-down menu based on the Report Type that had been selected
- To Schedule the Report to be emailed, the Report must be saved as a Global or a Global Hidden Report, then click the "Scheduled this Report to be sent to me via Email" flag
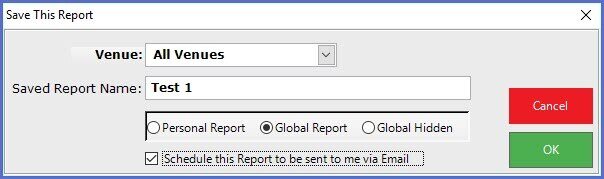
- Click OK and a Prompt will appear to select an existing Auto Report Job
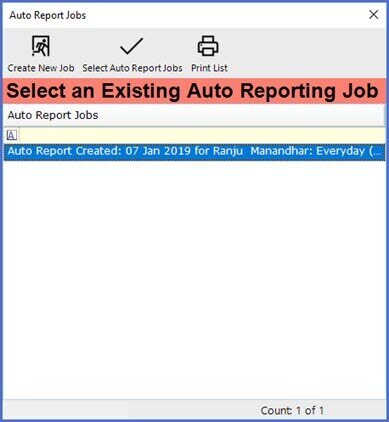
- Select a Scheduled Job or select Create New Job
- A Schedule Prompt will appear if there is no schedule assigned
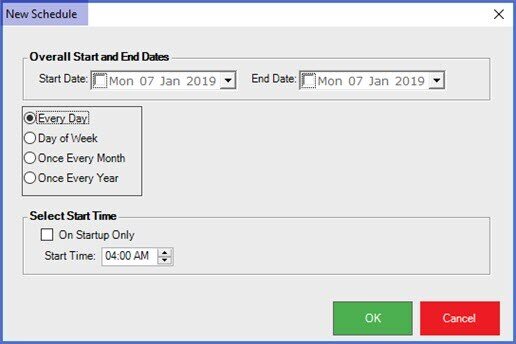
- Set the Schedule for the report to be emailed on and select OK, or select Cancel to not set a Schedule
- This will open the box shown below
 '
'
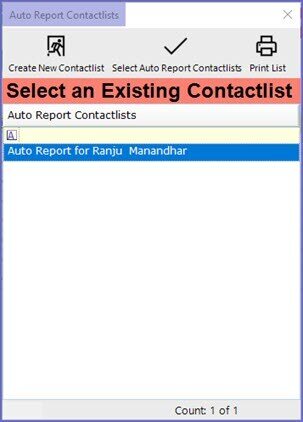
- Operators are now prompted to either Select Auto Report Contactlists or Create a New ContactList
- If the operator chooses to Create a new Contactlist, following prompt will appear
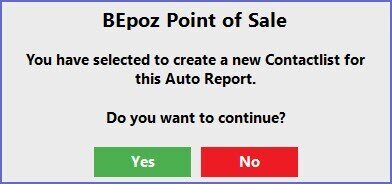
- After selecting OK, operators will be prompted to create a new Contactlist
- Select Yes to create a Contact List
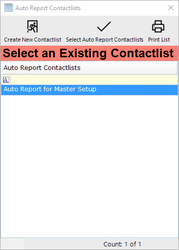
- Select Create New Contact List to create a new Contactlist or Select Auto Report Contactlist as required
- Once done, a prompt will appear notifying the operators that the AutoRun Job has been added to the Saved Report
