This article covers a step-by-step guide to creating a Transfer on SmartPDE
Overview
- This lesson provides a guide for Creating a Transfer via SmartPDE
Prerequisites
N/A
How-To Guide
- After selecting the Create Transfer button the system will prompt to select a Venue
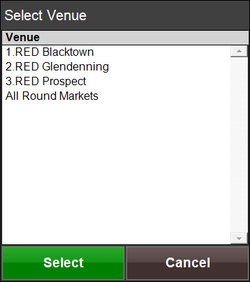
- Select a Venue to continue or select Cancel to cancel the selection
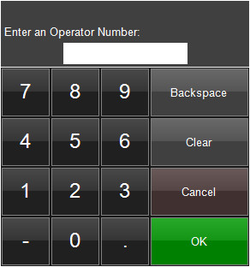
- Next, enter an Operator Number
- After entering an Operator Number, a prompt will appear with an alphanumerical keyboard to enter a Transfer Description
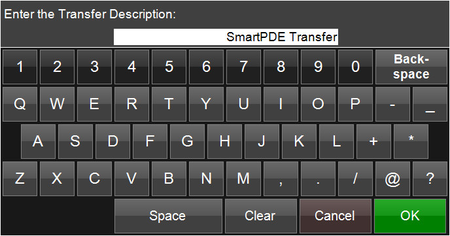
- Enter a description and select OK
- After entering a description, the Stock Transfer screen will appear
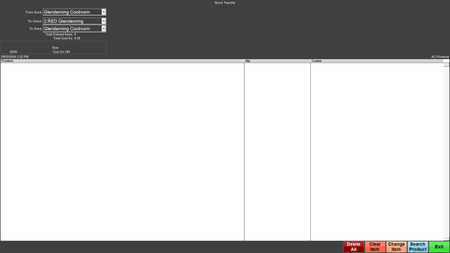
- Select a From Store which is the Store that the Stock is coming from and stock will be depleted from this Store
- Select a To Venue which is the Venue receiving the Stock
- Select a To Store which is the Store receiving the Stock
Delete All
- This button will allow for deletion of the entire Transfer
- After selecting, a window with the message, 'You have selected to Delete all * Entries. Do you want to continue?' will appear
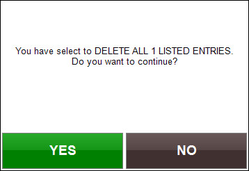
- Select Yes to Proceed or No to Cancel deletion
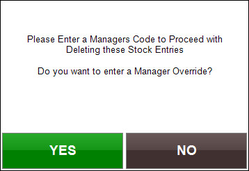
- After a Yes selection, a Manager's Operator Number will need to be entered to proceed with the deletion
- A window will confirm that a Manager Code has been entered
- Another window will prompt 'Done'
- Select OK to continue and return back to the main menu screen
Clear Item
- Selecting this button will allow for Clearing a line Item from the Transfer
- To clear a line item, select a Product from the list and select the Clear Item button
- A window will appear to confirm that the item selected is going to be removed from the Transfer
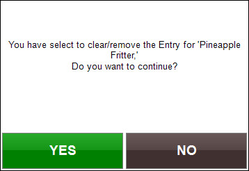
- Select YES to remove the item or select NO to cancel the removal of the item
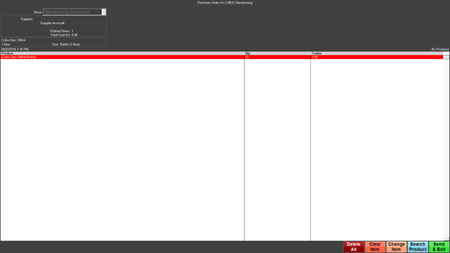
- Notice that the Cleared item is in red
- The Product can be Un-Cleared by selecting Change Item
Change Item
- Selecting this button will allow for changing the Quantity Amount requested of a Product
- To change a Quantity Amount, highlight the desired Product and select the Change Item button
- A window will appear to allow for changing the requested amount
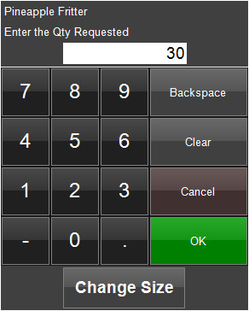
- Enter the desired amount and select OK
Search Product
- A Product can be manually added to the Transfer by selecting the Search Product button
- The system will prompt a Product Selection screen

- After selecting a Product Group from the Group column, a list will populate in the Name column
- Select a Product to continue with adding it to the Transfer
- The system will prompt for entering a Quantity; enter an amount and select OK

Send & Exit
- Selecting the Send & Exit button will send all changes to the Server and exit the Transfer screen
- A window will appear with a message, 'Do you want to transmit these *** entries to the Server Now?'
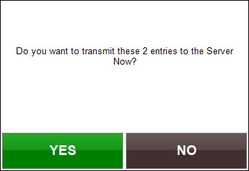
- Select YES to Continue or select NO to Cancel
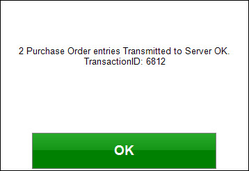
- After selecting Yes, another window will appear with a Confirmation and Transaction ID number
- Select OK to continue and return back to the main menu screen