
This article covers a step-by-step guide to Receiving a Transfer on SmartPDE.
Overview
- This lesson provides a guide for Receiving a Transfer via SmartPDE
- The only time Received Transfers can be seen is when the Transfer has been Saved and not Posted
Prerequisites
N/A
How-To Guide
- After selecting the Receive Transfer button, the system will prompt to select Venue
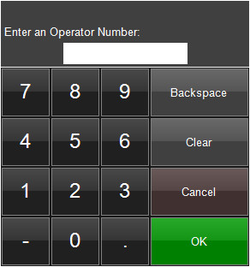
- Next, enter an Operator Number
- If a Transfer has been saved, a window will appear prompting to Select a Transfer
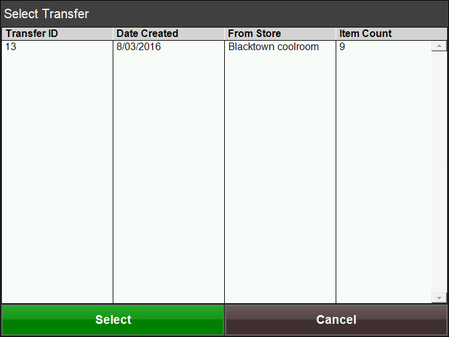
- From the list, select the desired Transfer to continue
- Notice that the top header info is grayed-out and cannot be adjusted as this has been set during the Transfer creation
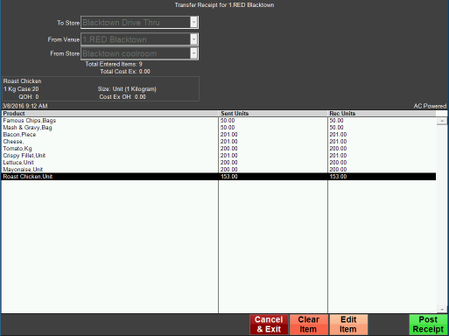
- The Product/s belonging to the Transfer will be listed along with Sent Units and Received Units
- Before Posting the Transfer, Products can be cleared or edited if needed
- Selecting Cancel & Exit will cancel the Transfer and return to the main menu
- Selecting the Clear Item button after highlighting a line item will remove the Product from the Transfer
- To edit the Quantity amount of a Product, highlight the Product line and select the Edit Item button
- Lastly, selecting Post Receipt will close and Post the Transfer