
This article covers a step-by-step guide to entering Stocktake in BackOffice.
As a continuation from the 'Stocktake Overview & Starting a Stocktake' article, the next step is to Enter the Stocktake.
For helpful tips, also see the '
Prerequisites
- To access Stocktake Settings, the applicable Operator Privileges will need to be enabled:
-
Operator Maintenance 'Stock Control' Tab - All "Purchasing and Receiving" Flags
-
Operator Maintenance 'Stock Control' Tab - General Stock Settings: "Stocktake Functions" Flag
Entering Stocktake
- After Stock has been manually counted onto Count Sheets and then checked & verified, the Entry process can commence
- Click on the Enter Counts option in the Stocktake window
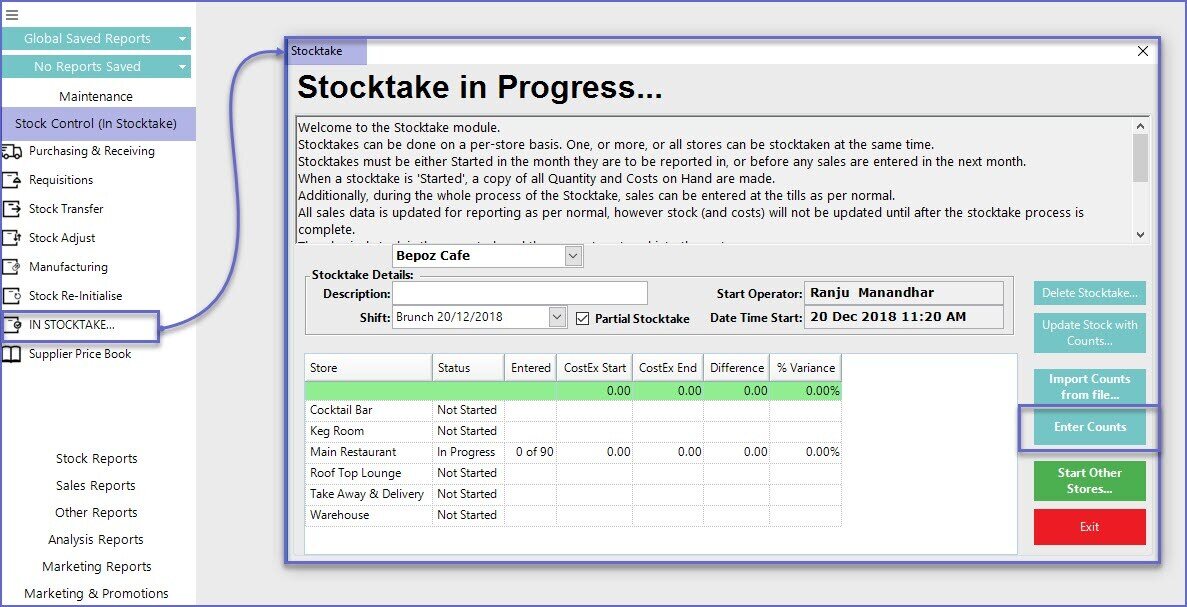
- This will open the Stocktake Entry tab
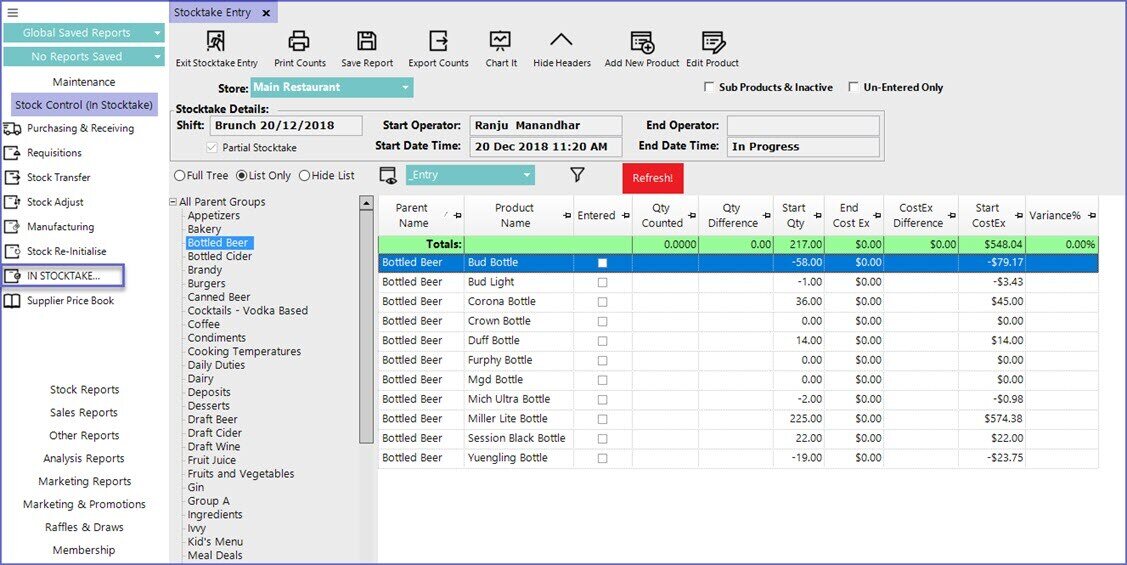
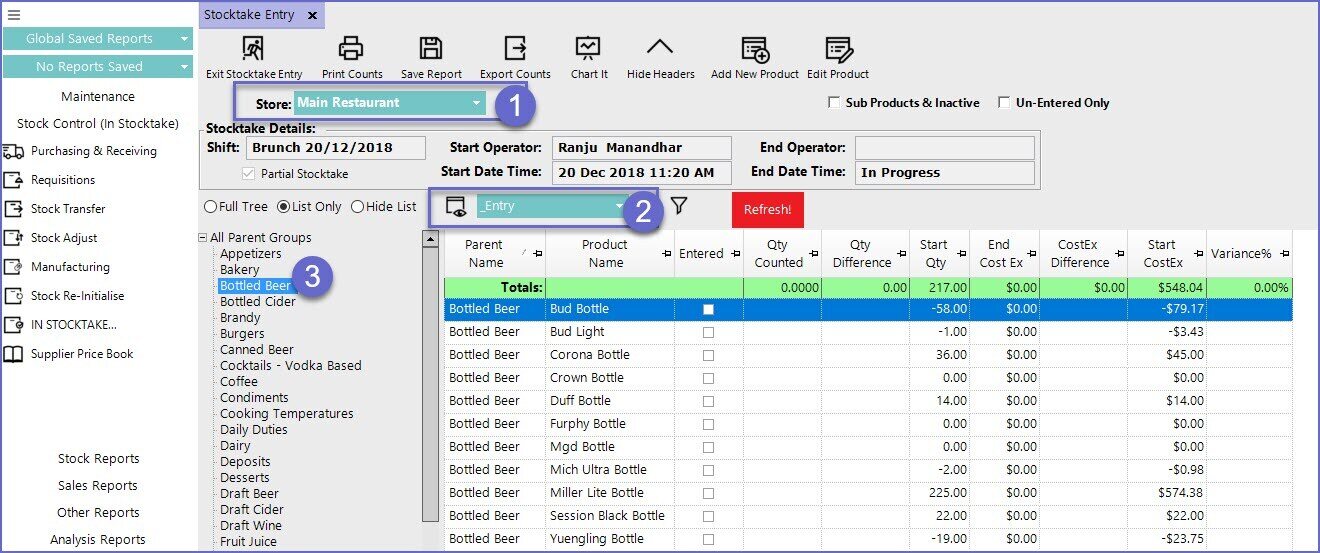
- To enter the counts, first, select the Store from the Store drop-down menu
- Select the '_Entry' view from the View icon drop-down
- Select either the individual Product Group, or check the Sub Products & Inactive checkbox which will display all of the Products from the highlighted Product Group and below
- Click on the Edit Mode button
- Enter counts into the column titled Qty Counted
- The Un-Entered Only flag will allow for filtering out Products that have already had Qty Counted entered
- Repeat steps until all counts for all Stores have been entered
- Exit Stocktake Entry