
This article covers the Operator Summaries Report and the different view options available.
Operator Summaries is similar to Till Summaries, except that it reports the Sales by Operator instead of by Till.
This Report can be used to track staff performance and to compare Sales between Operators.
It can also display the number of No Sales, Returns, and Cancelled Orders to highlight potential problems.
Charting is also available for this report.
Prerequisites- To access Summary features, the applicable Operator Privileges will need to be enabled
- Operator Maintenance 'Reporting' Tab
- Sales Reports: "Allow Cash Reports" Flag
Accessing Operator Summaries
- Complete the following steps to access the Operator Summaries
- Log in to BackOffice
- From the side menu, Select "Sales Reports" to expand the list of Available Reports
- Select Operator Summaries which will open a new Operator Summaries Window
- Select the required Operator Group from the Operator tree
Example Operator Summaries Report


- Show 2nd Period:
- This flag allows the operator to define a second time period
- Operator Totals:
- Operator Totals will list every Operator below the Group selected (i.e. Highlighting Operator Master Group will list every Operator from every subgroup below Operator Master Group)
- Inactive:
- This will include a list all the Inactive Operators as well
- Additional configuration options in the Header can also be used to generate more specific report data
- The Operator Summaries Report includes some Standard, out-of-the-box Views that can be useful for tracking everything from Payments to Labor Costs
- Additional Views can be added and edited as needed
- There is a standard view called "_Labour Costs" containing the following fields:
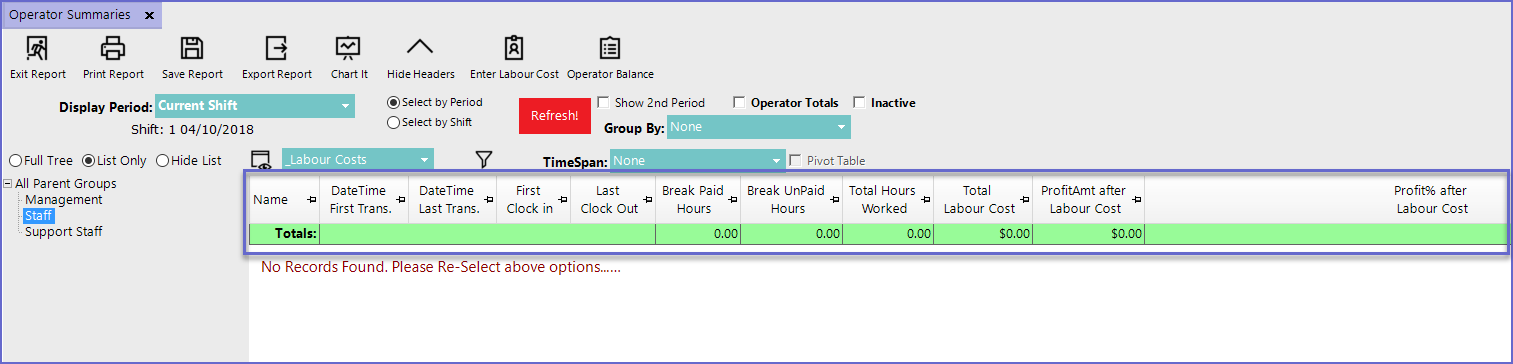
Fields |
Description |
| Name |
|
| DateTime First Trans. |
|
| DateTime Last Trans. |
|
| First Clock In |
|
| Last Clock Out |
|
| Break Paid Hours |
|
| Break Unpaid Hours |
|
| Total Hours Worked |
|
| Total Labour Costs |
|
| Profit Amt after Labour Cost |
|
| Profit % After Labour Cost |
|
- It is important to note that all Labor Costs are saved and reported to the first shift of the day
- Labour Costs should be reported for the whole day
- Double Clicking on an Operator Summaries Line when Clockings is enabled will display either a Clocking Events Report if Labour costs are calculated from clockings or the Manual Labour cost entry screen if this method is used