
This article shows a step-by-step guide on creating/editing a promotion in Mypla
This article shows a step-by-step guide on creating/editing a promotion in Myplace
Prerequisite
- To access the "Promotions" setup:
- Events Role Privileges will need to be enabled
- Roles "Role Maintenance" Panel
- Privilege Flags: "Marketing"
- Promotion will need to be active
- Feature Control "Side Nav" tab
- "Show Hidden?" Flag
- Promotion: ON (Blue)
Create/Edit a Promotion
- After logging into Myplace backpanel, follow the procedure below to create/edit a promotion and configure the settings:
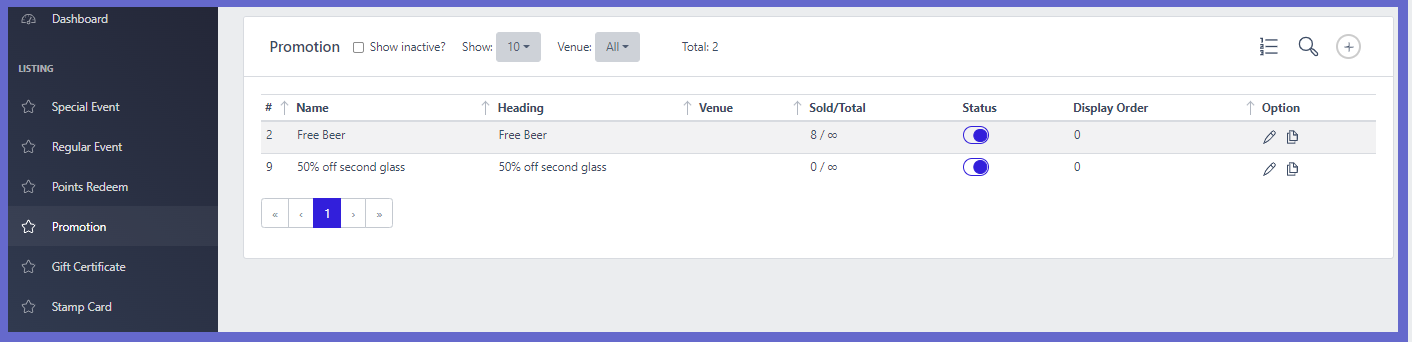
Offers list
==============TABLE====================
| Function | Description |
| Show active? |
|
| Show |
|
| Venue Filter |
|
| # |
|
| Name |
|
| Heading |
|
| Venue |
|
| Sold/Total |
|
| Status |
|
| Display Order |
|
| Option |
|
| Order Icon |
|
| Search Icon |
|
| Add Icon |
|


==============TABLE====================
Procedure
Step 1 - Accessing Promotion Configurations

- To access the promotion settings follow these steps:
- Click Promotions on the menu sidebar. If this option is not available, check that the prerequisites have been met
- On the promotions page:
A. Click the add icon to create a new promotion
B. Click the edit icon to change the setup of an existing promotion
- Both buttons will display a promotion setup panel, that will have the exact same settings. The difference is that the add icon will open the settings with empty fields.
Step 2 - Promotion Settings
- This step will display the different sections of the promotion setup panel
- The required sections needed for a successful promotion setup are:
- General Settings
- Schedules
General Settings
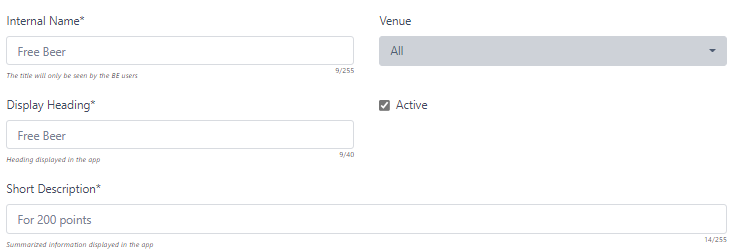
- Internal Name
- Type a title that will be used within the internal system of Myplace
- Venue
- A dropdown list, that has a selection of venues that are set up in Myplace.
- Click 'All Venues' to apply the promotion to every venue or choose a specific venue
- Display Heading
- A label for the promotion. This will display in the app to distinguish the promotion
- Recommended to place the product name within this title
- Active
- ON (Ticked): The promotion is active across Myplace. It will show in the app
- OFF (Not Ticked): Promotion is disabled and will not display on the app. It cannot be used throughout Myplace
- Short Description
- A brief description of the promotion
- Recommendation: Include the product name and discount amounts if applicable
Max Items
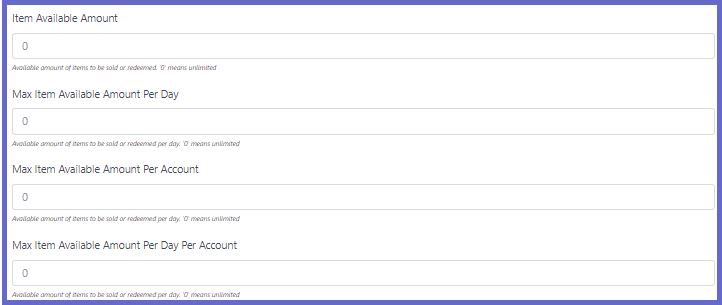
- This section will only appear if a voucher has been added
- Allows users to set a limit for the available amount of vouchers for the promotion
- For any of these fields, inputting 0 will make the value unlimited
- Item Available Amount
- The number of available items
- Max Item Available Amount Per Day
- The number of available items that can be issued per day
- Max Item Available Amount Per Account
- The number of available items that can be issued for a single account
- Max Item Available Amount Per Day Per Account
- The number of available items that can be issued for a single account per day
Image

- Users can add an image to display with the promotion
- Follow the steps below to add an image:
- Click the image area and file explorer will open
- Search for the preferred image and double-click it. It will open in a new panel with a selection box
- Scale the selection box using the corners or move it through click and drag
- Press the confirm button
- The image will appear on the promotion setup panel. Click the UNDO IMAGE CHANGE button to revert the picture to the previous image.
Vouchers
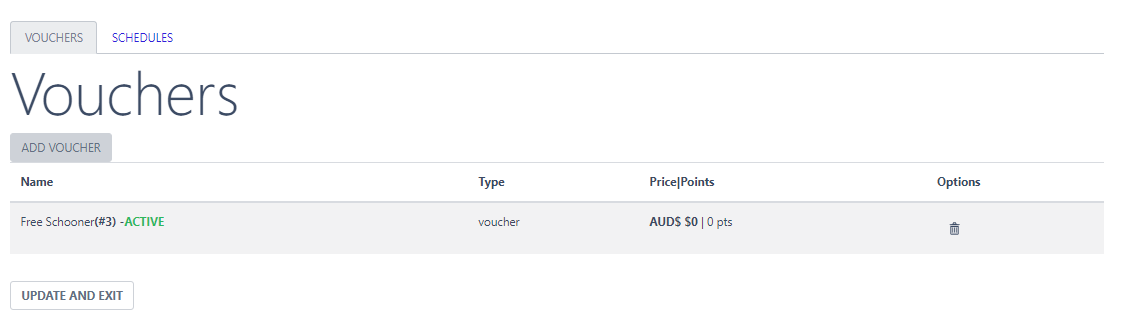
- This section is used to apply vouchers to the promotion
- This section is optional. Promotion will still work as intended if not applied.
- ADD VOUCHER
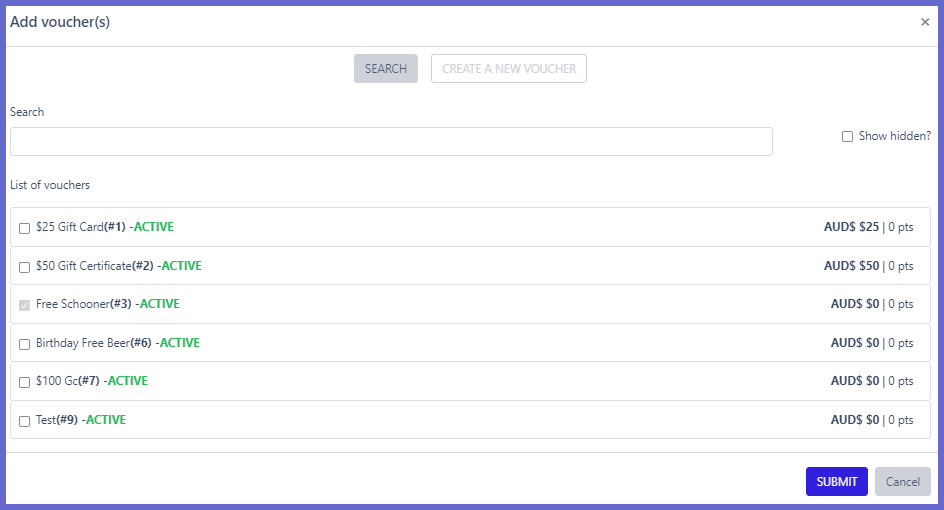
- Click 'ADD VOUCHER' to apply a voucher. This will open up a new panel called 'Add voucher(s)' that consists of two tabs, 'Search' and 'Create a new Bepoz Voucher'
- Search Tab
- A search bar is present. Type in characters to find specific vouchers
- Displays all available vouchers in Myplace.
- Select the vouchers by ticking the boxes on the left of each. Multiple can be selected at a single time
- Click Submit to add them to the promotion
- Create a Voucher Tab
- In the "Create A New Voucher" tab, users can make new vouchers. Refer to the article, "Create a Myplace Voucher", section 'Update/Create Voucher Page' for details on settings within this tab
- Delete Icon

- Click the icon in the respective row to delete the voucher on the promotion. If there is only one voucher applied. Then the icon will change to a
 . This arrow icon, once clicked, will revert the deleted voucher.
Schedules
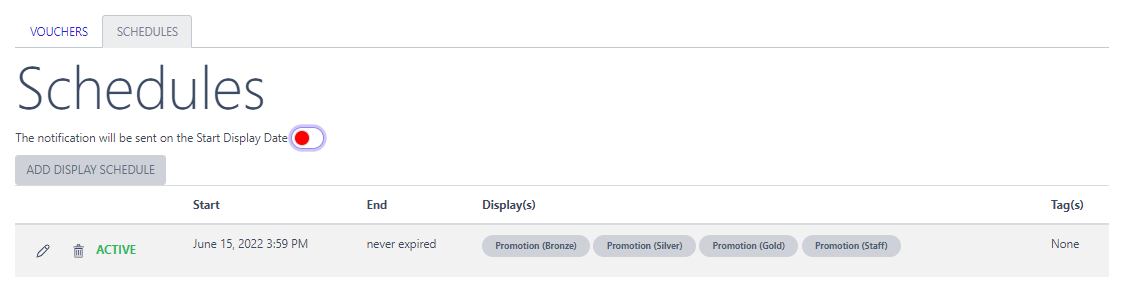
- Notification
- There is a toggle that sends messages to users about a new promotion
- ON (Blue): Notification settings will appear and the user can send a message. The notification will be sent out on the assigned start date of a schedule.
- Notification Settings
- Push Notification
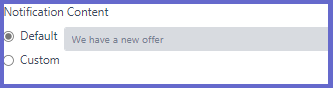
- Notification Content
- Default: Uses the default message, "We have a new offer" as the notification text
- Custom: Input the desired message to be used for the notification
- System Notification
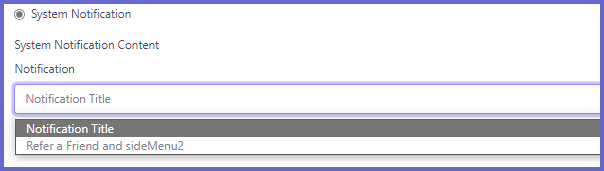
- System Notification Content
- A dropdown field with options of all available Notification setups in Myplace Backpanel
- Press an option to apply
- Tiers
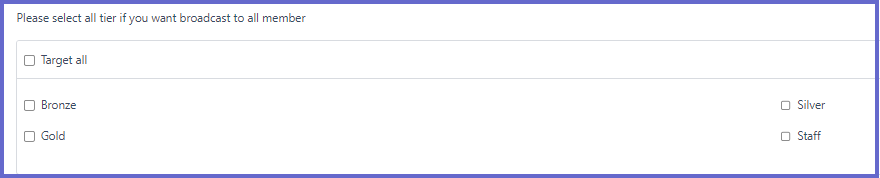
- Select which member groups will receive the notification
- Click "Target All", to send it to every member or tick the boxes next to a tier to select it
- OFF (Red): Notification settings are hidden and no message will be sent
- ADD DISPLAY SCHEDULE
- It is required that one Schedule is active
- Schedules create a time frame where the event will be available to see on the app
- Click this button to open the "Create Schedule" panel for adding new time periods
- Create Schedule
- Start Date
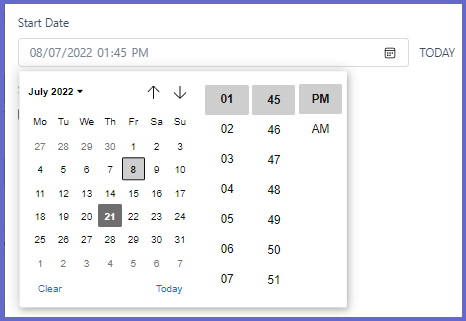
- A beginning date and time for the schedule
- Click the calendar icon in the field to choose a date/time or click TODAY next to the field to use the current date/time
- End Date
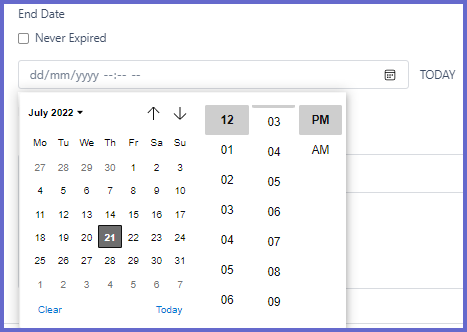
- A finish date and time for the schedule
- Never Expired flag
- ON: The schedule will not be assigned an end date and the schedule will run forever. This will hide the field below for selecting the end date/time
- OFF: below field for end date selection is available. Click the calendar icon in the field to choose a date/time or click TODAY next to the field to use the current date/time
- Tier selection
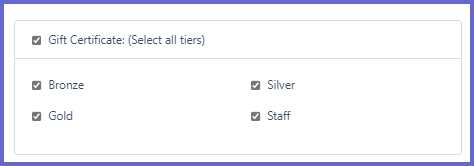
- select the member tiers that the promotion is available for, within this schedule
- Click Gift Certificate (Select all tiers) to choose every tier or individually tick each box next to desired tiers
- SUBMIT/Cancel
- Click SUBMIT to save and add the schedule to the list or cancel to discard it
- Edit

- Click the icon on the left to change the settings of existing schedules. It will open the "Create Schedule" panel. The panel configurations are outlined in 'ADD DISPLAY SCHEDULE' located above
- Delete
- Click the icon in the respective row to delete the schedule. If there is only one schedule applied, the icon will change to a . This arrow icon, once clicked, will revert the deleted voucher.
Step 3 - Save
- Once all configurations have been modified to users' preference, click the Update and exit or save and exit buttons at the bottom to save the changes.
- If changes are unwanted, then click the Listing icon above the setup panel.