Overview
How to configure RDP and Windows Users in order to create RDP Backoffice Workstations
Prerequisites
Windows Pro or Windows Server
RDP WORKSTATIONS
STEP 1: BEPOZ WORKSTATION
You need to make sure there is a workstation in the Backoffice per user account in Windows.
When you use RDP it actually opens the Windows profile on the server and opens the Backoffice application.
STEP 2: Windows User Profiles and Member of Groups
For every Workstation, you will need to create a windows user profile with Remote desktop user access.
To Access this panel you need to Navigate to Computer Management – Select Manage – Configuration – Local Users and Groups – Users.
If you right-click you can select New User.
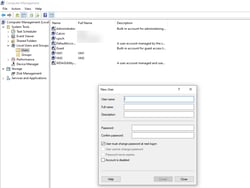
You need to give it a name and a password and make sure you check, user cannot change password and password never expires.
Click on Close
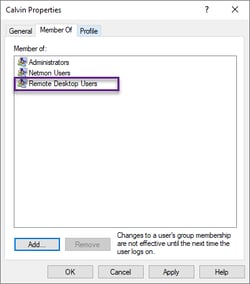
Then double click on the same user and go to the member of tab and click Add and Type in Remote Desktop Users.
Click OK.
Step 3: Logging into the User Profile and setting up the Backoffice.
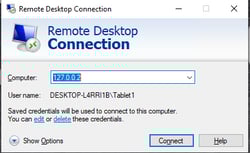
This can be done from the current desktop run Remote Desktop Connection
For the IP address: 127.0.0.2
Username and Password
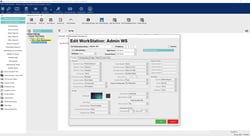
STEP 4: Configuring the Backoffice Workstation under the new user account
Run the Backoffice shortcut
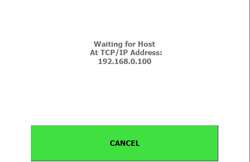
Press Cancel and Select Bepoz Diagnostics go to Bepoz Connections, change Smartcontroller IP Address to 127.0.0.1 – wait a few seconds for Workstation window to pop up

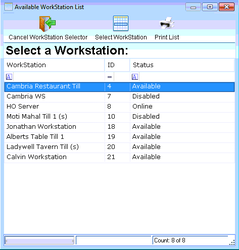
Select your Workstation and once you can log into the Back office, you can logoff the profile.
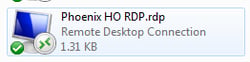
STEP 5: Create a Saved RDP File To the Desktop
Copy RDP file to the users DESKTOP:
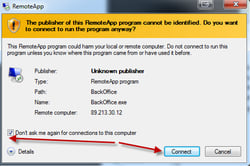
Run shortcut. (tick don't ask again) and click OK.
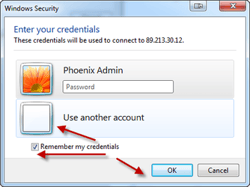
(Select Use another Account and tick remember my credentials)
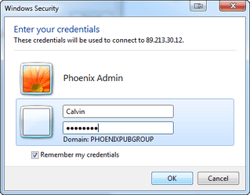
(Enter in user name and password)
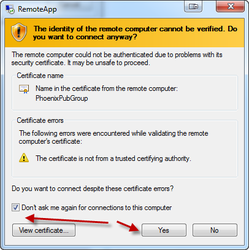
(Click don't ask me again and YES)
(Backoffice should open and you should be able to login again).