
Overview
Prerequisites
Customers need to register a free trial account on their own at https://www.infragistics.com/enterprise-solutions/enterprise-mobility/reportplus/reportplus-for-desktop-and-mobile
Download the IOS app at https://itunes.apple.com/us/app/reportplus-data-analytics/id556853421?mt=8
Download the Android app at https://play.google.com/store/apps/details?id=com.infragistics.reportplus&hl=en_US
Customer Report Plus accounts can be licensed at http://emm.infragistics.com/#/login/
Setup Cloud Storage
Create new folder for customer in Bepoz Cloud storage at BepozReports\\Customer bucket
Map the Bepoz Cloud storage as a local drive letter in Bepoz Server
- create a new folder in \\Bepoz folder to save the ReportPlus reports into
- then via command console, go to the parent folder where this new folder is located
- map a virtual drive letter for this new folder: subst E: <NewFolderName>
- then using AWS CLI, synch this folder regularly to the S3 cloud storage bucket: aws s3 sync . <s3 bucket>
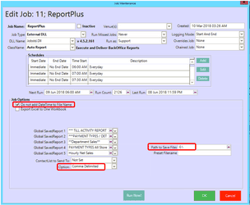
Setup Bepoz Reports
Open Back Office and generate the report needed.
Save the report and set a scheduled job to run Auto Reports at a certain frequency
Make sure reports are saved without date and time and in correct path where the Bepoz Cloud Storage drive was mapped
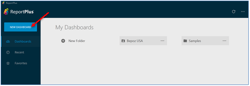
Setup Report Plus Dashboard
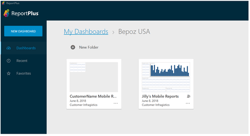
From Report Plus Desktop, logon to the Bepoz Report Plus account and click New Dashboard
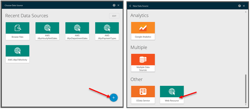
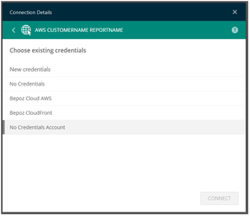
Add New Data Source - Web Resource
Enter Data Source Name and URL
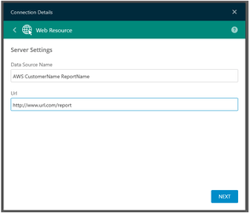
Select Credentials or Create new entry
Check Report Plus guide on how to design/create the report at https://www.infragistics.com/help/reportplus/home-page
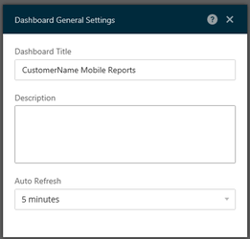
Then update dashboard settings including dashboard name from General Settings
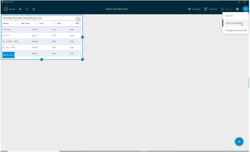
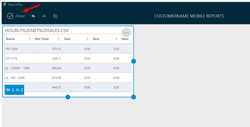
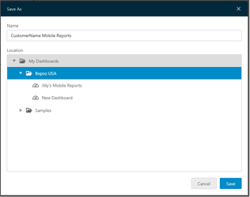
Then save new dashboard in Bepoz USA folder by clicking Done

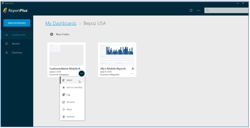
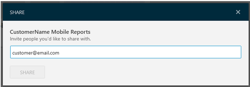
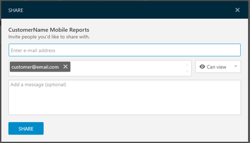
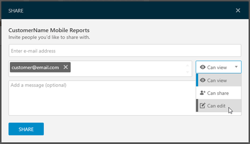
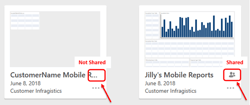
Share Report Plus Dashboard to Customer
From Report Plus
Manage License in Infragistics Enterprise Mobility Manager
After activating customer's free trial account, customer email address used for this account cano now be added in the EMM for licensing.