
Overview
Summary
This lesson gives a step-by-step guide on how to send emails via BackOffice using Office 365 Email Account and the setups required to enable this feature
accountshow-tomessaging
Overview
In order to send Emails or Reports via Office365, a Bepoz BackOffice needs to be setup
This allows users to send and receive from BackOffice without having to switch application
Prerequisites
N/A
Step-by-step Guide
A. Create Exchange Connector in Office365 Exchange Admin Server
This requires user must have a Global Administrator access in Office365 to perform this step
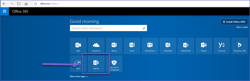
Login to Microsoft Online Portal as a user that has an Administrator Rights
Click on the Admin menu to open the Exchange Admin Center
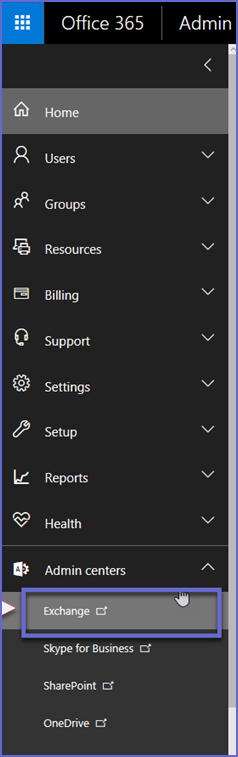
Expand Admin Centers and select Exchange
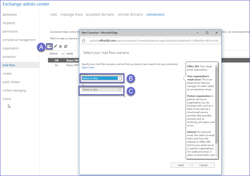
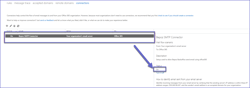
In the Mail Flow category, Click on connectors

Add a connector
Click on '+' button
Select Your organization's email server from dropdown for From: field
Select Office365 from dropdown for To: field
Click Next button
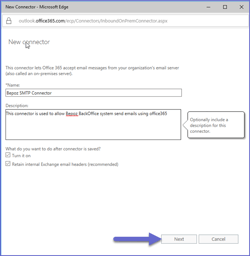
Give connector a descriptive Name, Description and Click Next button
Turn it on: True
Retain internal Exchange email headers(recommended): True
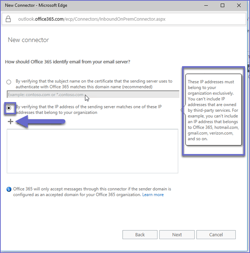
Select Verify by IP Address radio button and Click ' + ' button
This is to make user in this connection ONLY from known IP Address that should be allowed to use the connector. All other attempts will be denied as an authorized relay attempt
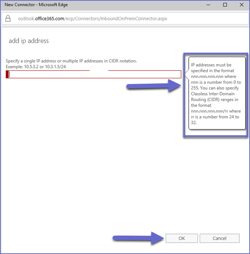
Ex. IP Address of the machine where BackOffice is installed
After adding IP Address, Click OK button
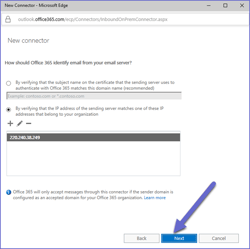
Repeat this step if more IP Address are needed to give access to this connector
Click Next button if all IP address that needs to access the connector are all added
Save the connector after confirming that all the settings are correct
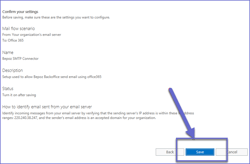
After saving the connector, make sure that status is set to ON
B. Finding the SMTP server that will be used in Bepoz Backoffice
Go back to the Office365 portal and click the Admin menu and click on Office 365
Click on the Domains category
Select primary domain (or the domain you wish to use) and then click Manage DNS
Find the MX record and copy the Point To Address for that record
The format will be in this format: -.mail.protection.outlook.com. If the domain was “XXYYZZ.COM” then the MX record would look like this: XXYYZZ-COM.mail.protection.outlook.com as an example
That value will be used as the SMTP Server when defining the operator's outbound mail settings in the Bepoz BackOffice application/device that they want to send relay email
User must have Global Administrator access to perform this step
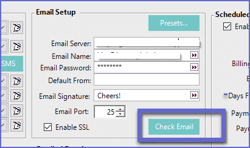
C. Setup BackOffice Venue settings for Messaging
Email Server: SMTP server registered in your Point To Address Record (MX Record)
Email Name: <Email Address> as sender that are currently registered in Exchange Server
Email Password: <Password> your email account password
Default From: <Email Address> to be use as the From and Reply address
Email Port: 25
Enable SSL: True
Verify Configuration by clicking Check Email button. The assigned email address from the contact list should received an email msg with a subject line <Test Email from Bepoz>
The first thing the operator should check for is to see if they can even use port 25 or not. Not all applications/devices support anything but port 25. If they have one of these AND have a port 25 port block ISP, they may need to take some fancier steps within the router to make this work