
Overview
This lesson covers on how to set up logos or images to be printed on the Printer
Overview
Some businesses also require their logos or images to be printed along with the voucher or transaction receipt
This can be done from the BackOffice Images Menu
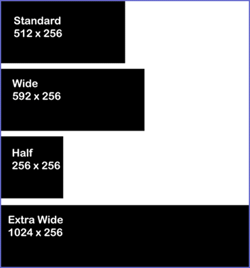
Below is a proportional representation of each image size the values represent pixel sizes
Prerequisites
To put logos or images on receipts or vouchers they need to be sent and stored on the printer and then allocated to the correct print format (SEE###)
The images must be Jpeg. or BMP
if thermal printers are being used, ideally black and white will work the best, as they cannot print colour if colour is used some of the definition can be lost
Step-by-Step Guide
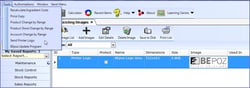
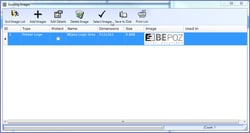
From the Images Menu in Operational Setup select Add Image
Select the Image Type Printer Logo
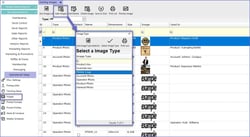
Find the image to be used and double click on it
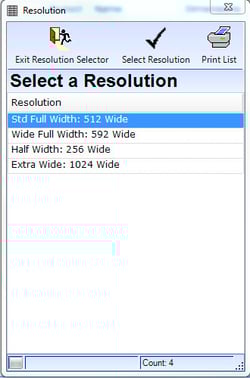
Select a resolution, this depends on the printer that is being used
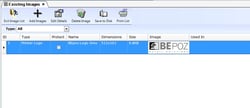
The logo will appear in the images bank
To Allocate the printer to store the logo on select Tools from the top left hand corner of the screen, from the drop down select "Send Printer Logos"
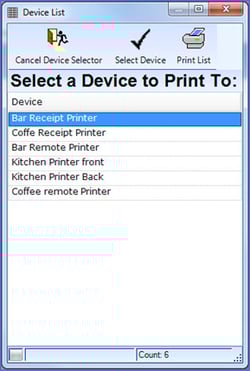
A list of printers available will appear
Select the appropriate printer
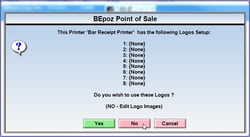
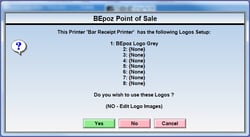
A prompt will appear showing any current images allocated to the printer
Click "No" to attach a new image
From the Edit device screen click on Set, for one of the logo images
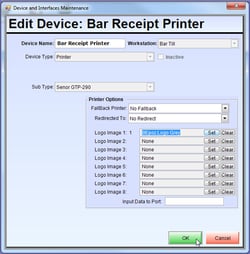
This will open the list of Printer Logo Images, Highlight the appropriate one and click on Select Images
Once all the Images have been added; Press OK
This will open the send Printer Logos screen, Click Yes to send the Logos
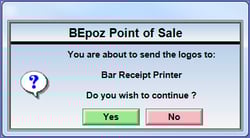
Click Yes, this will send the logos to the allocated printer
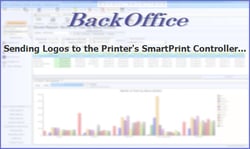
A prompt will appear informing if the Send was successful or not
The Logos will print from the printer and then be stored there until they are cleared or changed and then re-sent
The logos will not change if they are only changed in BackOffice they need to be re sent