
This article is a how-to guide on the setup of a Special Event and all components of this event type Components include Tickets, Schedules and Reminders Special Events are occasions that occur on a single date within the venue.
This article is a how-to guide on the setup of a Special Event and all components of this event type
Components include Tickets, Schedules and Reminders
Special Events are occasions that occur on a single date within the venue. This is usually big events such as concerts and these may require a ticket purchase for entry
Prerequisite
- To access the "Special Event" setup:
- Events Role Privileges will need to be enabled
- Roles "Role Maintenance" Panel
- Privilege Flags: "Events"
- Special Event will need to be active
- Feature Control "Side Nav" tab
- "Show Hidden?" Flag
- Special Event: ON (Blue)
Special Event
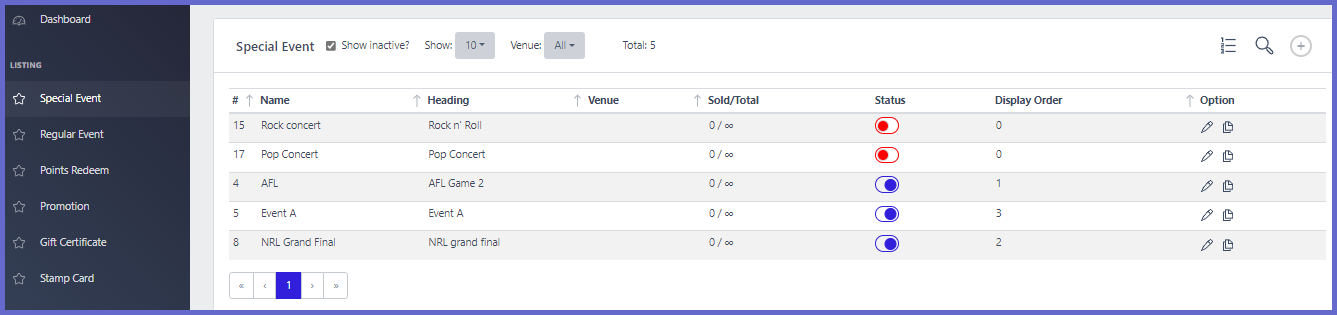
| Function | Description |
| Show Inactive? |
ON: Displays all special events including inactive events OFF: Displays only active special events |
| Show | A dropdown list with numerical options that can be selected to apply a limit to the number of special events that will appear on the list |
| Venue | A dropdown, listing all venues setup in Myplace. 'All Venues' option will display events from every venue while, selecting a specific venue will only show events from this particular site |
| # | A unique value to identify the special event |
| Name | A title for the event, this is not displayed on the app |
| Heading | A event label that will display within the app |
| Venue | TBC |
| Sold/Total | TBC |
| Status |
ON (Blue): The event will be active and appears on the App OFF (Red): The event will be disabled and does not appear on the app |
| Display Order | The order in which the events will show on the app, descending from 0 |
| Option |
|
Creating/Editing a Special Event
- After login to Myplace backpanel, use the guide below to create/edit a special event and configure the settings:
Guide Step 1 - Accessing Special Events Configurations
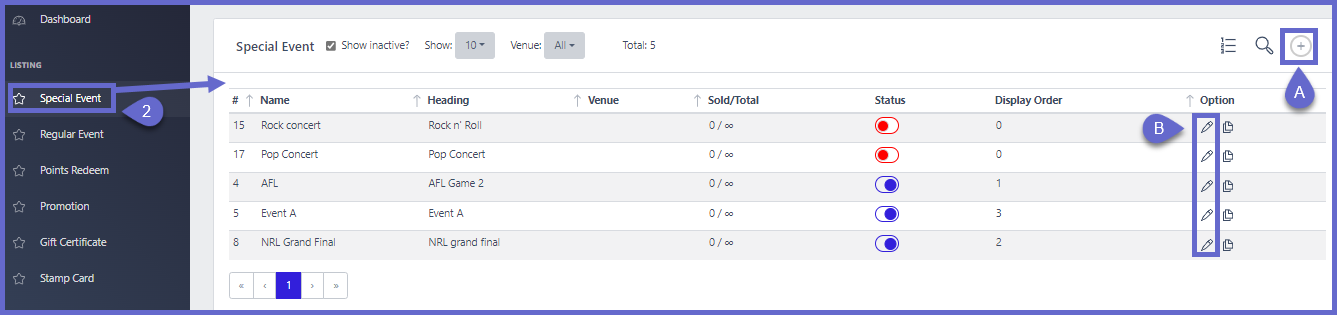
- Follow the below steps to access the special events setup panel:
- Special Events page can be accessed by clicking the Special Event on the menu sidebar
- Click the respective icon to open the setup panel
- A. This icon is used to modify a existing special event
- B. This icon is used to create a new special event
- Both buttons will display a setup panel that have the exact same configurations, only difference is edit icon will open with prefilled configurations
Step 2 - Special Event Settings
- This step will outline different areas of the special event setup panel
General
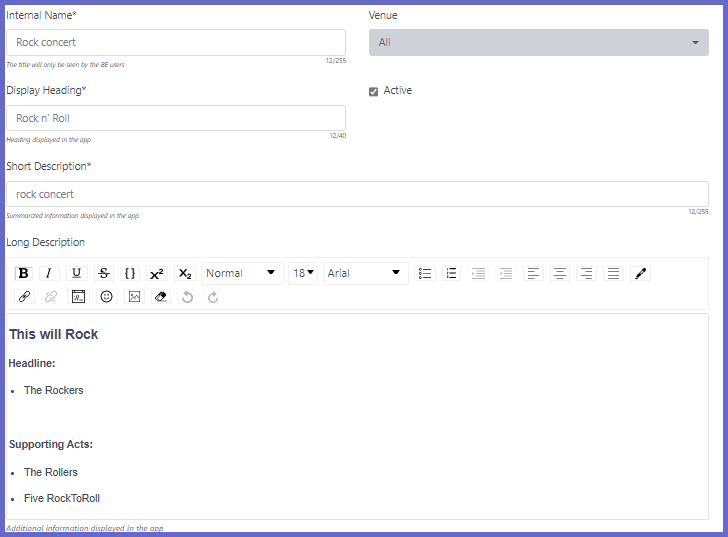
- Internal Name*
- A title used within Myplace but will not be displayed on the app
- A Required Field
- Venue
- A drop down field that lists all venues set in Myplace.
- Click 'All Venues' to apply the event to every site associated with Myplace
- Select a specific venue to apply the event to this site only
- Display Heading
- A title that will display on the Myplace app for users to see
- Active Flag
- ON (Ticked): The event is active across Myplace and will appear in the special event tab on the app.
- OFF (Not ticked): The event will be disabled. It will not be viewable on the app and cannot be used through Myplace
- Short Description
- A brief sentence to outline important event information such as what the event is about
- Long Description
- A more detailed explanation of the event
- Users could include relevant musician names, product names or areas of the venue the event will take place
- The text editor has different options to customise the text
Date/Time

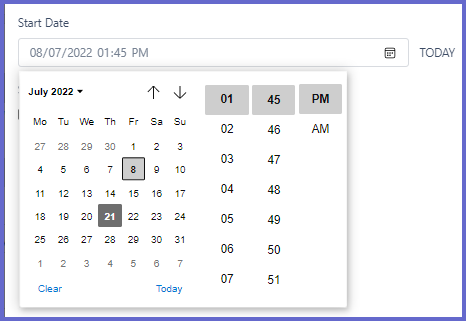
- Event Start Date Time*
- A Required Field
- The exact time the event will start
- Click the clock icon in this field and adjust the time accordingly, then click outside the open time panel to apply it
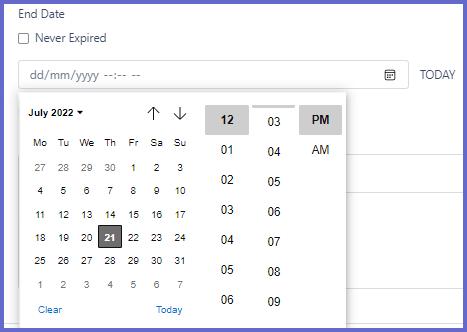
- Event End Date Time*
- A Required Field
- The exact time the event will End
- Click the clock icon in this field and adjust the time accordingly, then click outside the open time panel to apply it
- Never Ends Flag
- ON (Ticked): The event does not have a expiry date/time
- OFF (Not Ticked): A field will appear, where users can input the ending date/time of the event
Max Items
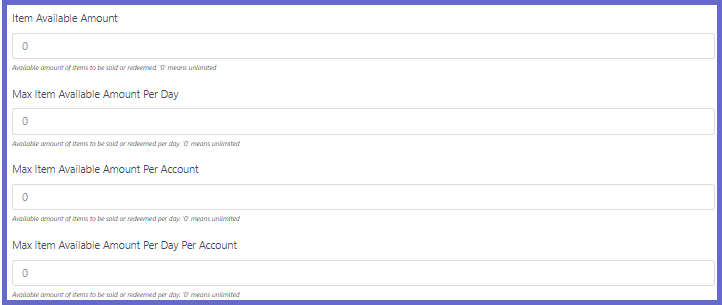
- This section will only appear if a ticket has been added to the event
- Allows users to set a limit of the available amount of tickets there is for the event
- For any of these fields, inputting 0 will make the value unlimited
- Item Available Amount
- The number of available items
- Max Item Available Amount Per Day
- The number of available items that can be issued per day
- Max Item Available Amount Per Account
- The number of available items that can be issued for a single account
- Max Item Available Amount Per Day Per Account
- The number of available items that can be issued for a single account per day
Button Display Flags

- Display Booking / Purchase Button?
- Display Enquiry Button?
TBC
Tickets

- This section is used to configure and apply tickets that users will need to purchase as part of the event
- When a ticket is added the Max Items fields will appear
- ADD TICKET
- Click this button to add a Ticket to the Event
- This will open a new panel that displays existing tickets setup in Myplace
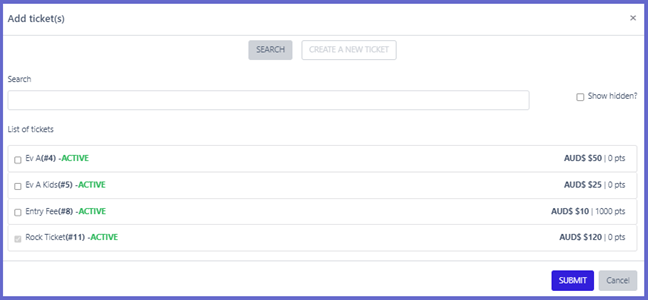
- Search Tab
- Search bar
- Input a sequence of characters to find specific tickets
- List of Tickets
- Click the boxes next to each ticket to select them for adding to event
- Create a New Ticket tab
- General Settings
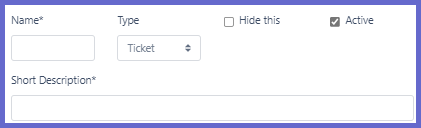
- Name - Input a title for the ticket, this is a required field.
- Type - This will always be ticket and does not need changing
- Hide this - The ticket will be hidden in the list
- Active
- ON (Ticked): ticket is enabled and can be used in Myplace
- OFF (Not Ticked): ticket will be disabled
- Short Description - A mandatory field. This is a brief description of the ticket
- Image
- Click this to select an image from local disk and apply it to the ticket
- Notification
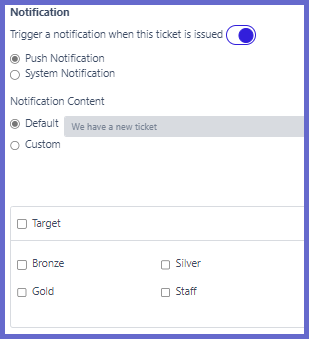
- Works the same as notifications in the schedule section below but for tickets
- Toggle to activate/disable notifications
- Push Notification
- In Notification Content, Select to use the default message "We have a new ticket" or select 'Custom' to create a personalized message
- System Notification
- In System Notification Content, Select from dropdown list a existing notification setup
- Target
- Used to limit which account groups the ticket will apply towards
- Click Target flag to add all groups or tick the boxes next to each specific account group name
- Price
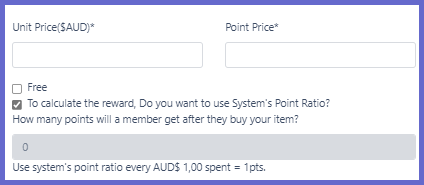
- Unit Price($AUD)*
- A required field that is used as the cost amount that the ticket will be purchased at. Input a numerical value
- Point Price*
- A required field that is used to place a points cost value for purchasing a ticket
- Free
- ON (Ticked): The ticket will be free and has a cost price of $0.00
- OFF (Not Ticked): ticket will need to be assigned a price using the above fields
- To calculate reward
- ON (Ticked): Uses the point ratio set in 'Point Ratio and Rewards' setting of Myplace
- OFF (Not Ticked): Input a number to establish the amount of points received after a ticket purchase. The 'AUD$ 1.00 spent = 1pts' will update as values are placed in the field
- Bepoz Voucher

- Voucher
- A dropdown list of all vouchers created in bepoz. Link a voucher to this ticket to apply the bepoz configurations
- Bepoz Product Number TBC
- SUBMIT
- Click this button is clicked to apply the changes
- DELETE
- Click the
 to remove ticket from list
 - If there is only one ticket click the icon and it will change to [down arrow] then click the update/save and exit button
Schedules

- Notification
- There is a toggle that sends messages to users about the event
- ON (Blue): Notification settings will appear and user can send a message. The notification will be sent out on the assigned start date of a schedule.
- Notification Settings
- Push Notification
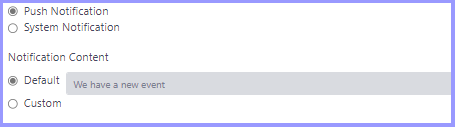
- Notification Content
- Default: Uses the default message, "We have a new event" as the notification text
- Custom: Input a desired message to be used for the notification
- System Notification
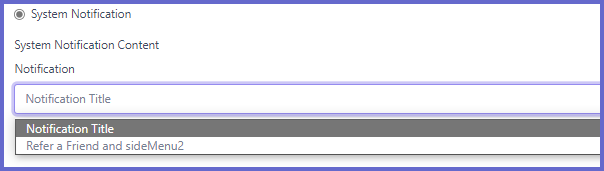
- System Notification Content
- A dropdown field with options of all available Notification setups in Myplace Backpanel
- Press an option to apply
- Tiers
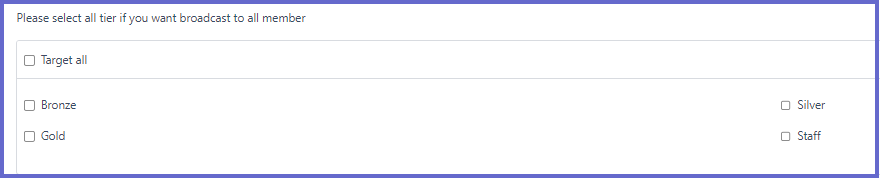
- Select which member groups will receive the notification
- Click "Target All", to send it to every member or tick the boxes next a tier to select it
- OFF (Red): Notification settings are hidden and no message will be sent
- ADD DISPLAY SCHEDULE
- It is required that one Schedule is active
- Schedules create a time frame where the event will be available to see on the app
- Click this button to open the "Create Schedule" panel for adding new time periods
- Create Schedule
- Start Date
- A beginning date and time for the schedule
- Click the calendar icon in the field to choose a date/time or click TODAY next to the field to use the current date/time
- End Date
- A finish date and time for the schedule
- Never Expired flag
- ON: The schedule will not be assigned an end date and the schedule will run forever. This will hide the field below for selecting end date/time
- OFF: below field for end date selection is available. Click the calendar icon in the field to choose a date/time or click TODAY next to the field to use the current date/time
- Tier selection
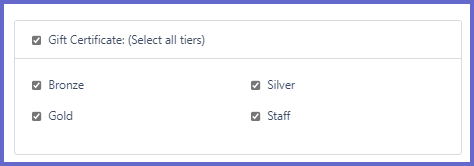
- select the member tiers that the event is available for, within this schedule
- Click Gift Certificate (Select all tiers) to choose every tier or individually tick each box next to desired tiers
- SUBMIT/Cancel
- Click SUBMIT to save and add the schedule to the list or cancel to discard it
- Edit
- Click the icon on the left to change settings of existing schedules. It will open the "Create Schedule" panel. The panel configurations are outlined in 'ADD DISPLAY SCHEDULE' located above
- Delete
- Click the icon to remove the schedule from the list
Reminder
TBC
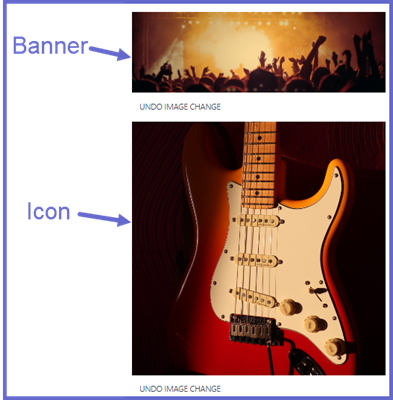
Image/Banner

- Banner
- This will appear as the background image on the special events tab
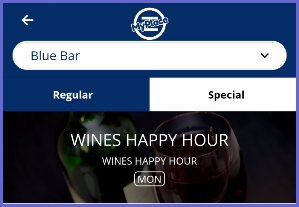
- This is also used as the banner image on the specified event screen. accessed by clicking the event
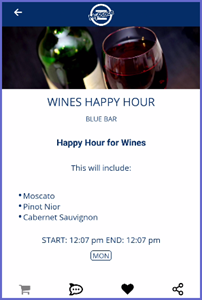
- Image
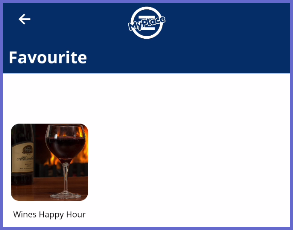
- This will appear in two areas on the what's on Card on the homepage and the favourites screen accessible through the profile screen
- On the whats on card view, the image will be cropped by 100 pixels on both, the top and bottom of the image

- Follow the procedure below to apply a image/banner to the event:
- Choose either Banner or Icon and click the respective area
2. File Explorer will open. Find and select the desired image and click Open
3. The picture will appear with a selection box
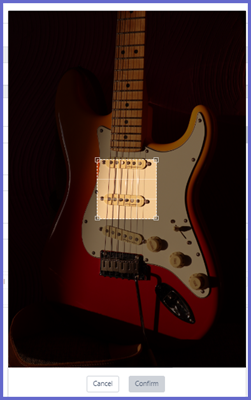
4. Scale the box using the corners or move it by clicking and dragging.
5. Once the selection is final click Confirm and it will apply
6. A UNDO IMAGE CHANGE button will appear underneath the image/banner areas and is used for reverting the picture back to the previous picture
Step 3 - Save
- To save all configurations. Click the Update and Exit button at the bottom of the page. If any required fields are empty then a prompt will appear asking to configure this field.