- INTERNAL - Bepoz Help Guides
- MyPlace | Backpanel User Guides
- Messaging & Notifications
-
End-User | Products & SmartPOS
-
End-User | Stock Control
-
End-User | Table Service and Kitchen Operations
-
End-User | Pricing, Marketing, Promotions & Accounts
- Prize Promotions
- Points, Points Profiles and Loyalty
- Product Promotions
- Repricing & Discounts in SmartPOS
- Vouchers
- Account Till Functions
- Pricing, Price Numbers and Price Modes
- Raffles & Draws
- Marketing Reports
- Accounts and Account Profiles
- Rewards
- SmartPOS Account Functions
- Troubleshooting
- Product Labels
- Packing Slips
-
End-User | System Setup & Admin
-
End-User | Reporting, Data Analysis & Security
-
End-User | Membership & Scheduled Billing
-
End-User | Operators, Operator Permissions & Clocking
-
Interfaces | Data Send Interfaces
-
Interfaces | EFTPOS & Payments
- NZ EFTPOS Interfaces
- Linkly (Formerly PC-EFTPOS)
- Adyen
- Tyro
- ANZ BladePay
- Stripe
- Windcave (Formerly Payment Express)
- Albert EFTPOS
- Westpac Presto (Formerly Assembly Payments)
- Unicard
- Manager Cards External Payment
- Pocket Voucher
- OneTab
- Clipp
- eConnect-eConduit
- Verifone
- AXEPT
- DPS
- Liven
- Singapore eWallet
- Mercury Payments TRANSENTRY
- Ingenico
- Quest
- Oolio - wPay
-
Interfaces | SMS & Messaging
-
Interfaces | Product, Pricing, Marketing & Promotions
- Metcash Loyalty
- Range Servant
- ILG Pricebook & Promotions
- Oolio Order Manager Integration
- Ubiquiti
- Product Level Blocking
- BidFood Integration
- LMG
- Metcash/IBA E-Commerce Marketplace
- McWilliams
- Thirsty Camel Hump Club
- LMG Loyalty (Zen Global)
- Doshii Integration
- Impact Data
- Marsello
- IBA Data Import
- Materials Control
- Last Yard
- Bepoz Standard Transaction Import
-
Interfaces | Printing & KDS
-
Interfaces | Reservation & Bookings
-
Interfaces | Database, Reporting, ERP & BI
-
Interfaces | CALink, Accounts & Gaming
- EBET Interface
- Clubs Online Interface
- Konami Interface
- WIN Gaming Interface
- Aristocrat Interface
- Bally Interface
- WorldSmart's SmartRetail Loyalty
- Flexinet & Flexinet SP Interfaces
- Aura Interface
- MiClub Interface
- Max Gaming Interface
- Utopia Gaming Interface
- Compass Interface
- IGT & IGT Casino Interface
- MGT Gaming Interface
- System Express
- Aristocrat nConnect Interface
- GCS Interface
- Maxetag Interface
- Dacom 5000E Interface
- InnTouch Interface
- Generic & Misc. CALink
-
Interfaces | Miscellaneous Interfaces/Integrations
-
Interfaces | Property & Room Management
-
Interfaces | Online Ordering & Delivery
-
Interfaces | Purchasing, Accounting & Supplier Comms
-
SmartPOS | Mobile App
-
SmartPDE | SmartPDE 32
-
SmartPDE | Denso PDE
-
SmartPDE | SmartPDE Mobile App
-
MyPlace
-
MyPlace | myPLACE Lite
-
MyPlace | Backpanel User Guides
- Bepoz Price Promotions
- What's on, Events and tickets
- Staff
- System Settings | Operational Settings
- Vouchers & Gift Certificates
- Member Onboarding
- Members and memberships
- System Settings | System Setup
- Reports and Reporting
- Actions
- Offers | Promotions
- Messaging & Notifications
- System Settings | App Config
- Surveys
- Games
- User Feedback
- Stamp Cards
-
MyPlace | Integrations
-
MyPlace | FAQ's & How-2's
-
MyPlace | Release Notes
-
YourOrder
-
YourOrders | Backpanel User Guides
-
YourOrders | YourOrder Kiosk User Guide
-
YourOrders | Merchant App User Guide
-
WebAddons
-
Installation / System Setup Guides
- SmartPOS Mobile App | Setup
- SmartPOS Mobile App | SmartAPI Host Setup
- SmartPOS Mobile App | BackOffice Setup
- SmartPOS Mobile App | Pay@Table setup
- SmartKDS Setup 4.7.2.7 +
- SmartKDS Setup 4.6.x
- SQL Installations
- Server / BackOffice Installation
- New Database Creation
- Multivenue Setup & Config.
- SmartPOS
- SmartPDE
- Player Elite Interface | Rest API
- Interface Setups
- Import
- KDSLink
- Snapshots
- Custom Interface Setups
-
HOW-2
- Product Maintenance
- Sales and Transaction Reporting
- SmartPOS General
- Printing and Printing Profiles
- SQL
- Repricing & Discounts
- Stock Control
- Membership
- Accounts and Account Profiles
- Miscellaneous
- Scheduled Jobs Setups
- Backoffice General
- Purchasing and Receiving
- Database.exe
- EFTPOS
- System Setup
- Custom Support Tools
-
Troubleshooting
-
Hardware
3 | System Notification | Manual
This article will outline the setup in backpanel for manual execution of system notifications. Prerequisite Engage Role Privileges will need to be enabled People "User Roles" Panel Privilege Flags: "Engage" System Notifications - Manual There are several ways a admin user can send notifications to their member base. This article will outline the manual execution of system notifications. Getting to the Notification Page After user logs in to the backpanel, admin users can click Engage.
This article will outline the setup in backpanel for manual execution of system notifications.Prerequisite
- Engage Role Privileges will need to be enabled
- People "User Roles" Panel
- Privilege Flags: "Engage"
System Notifications - Manual
There are several ways a admin user can send notifications to their member base. This article will outline the manual execution of system notifications.
Getting to the Notification Page
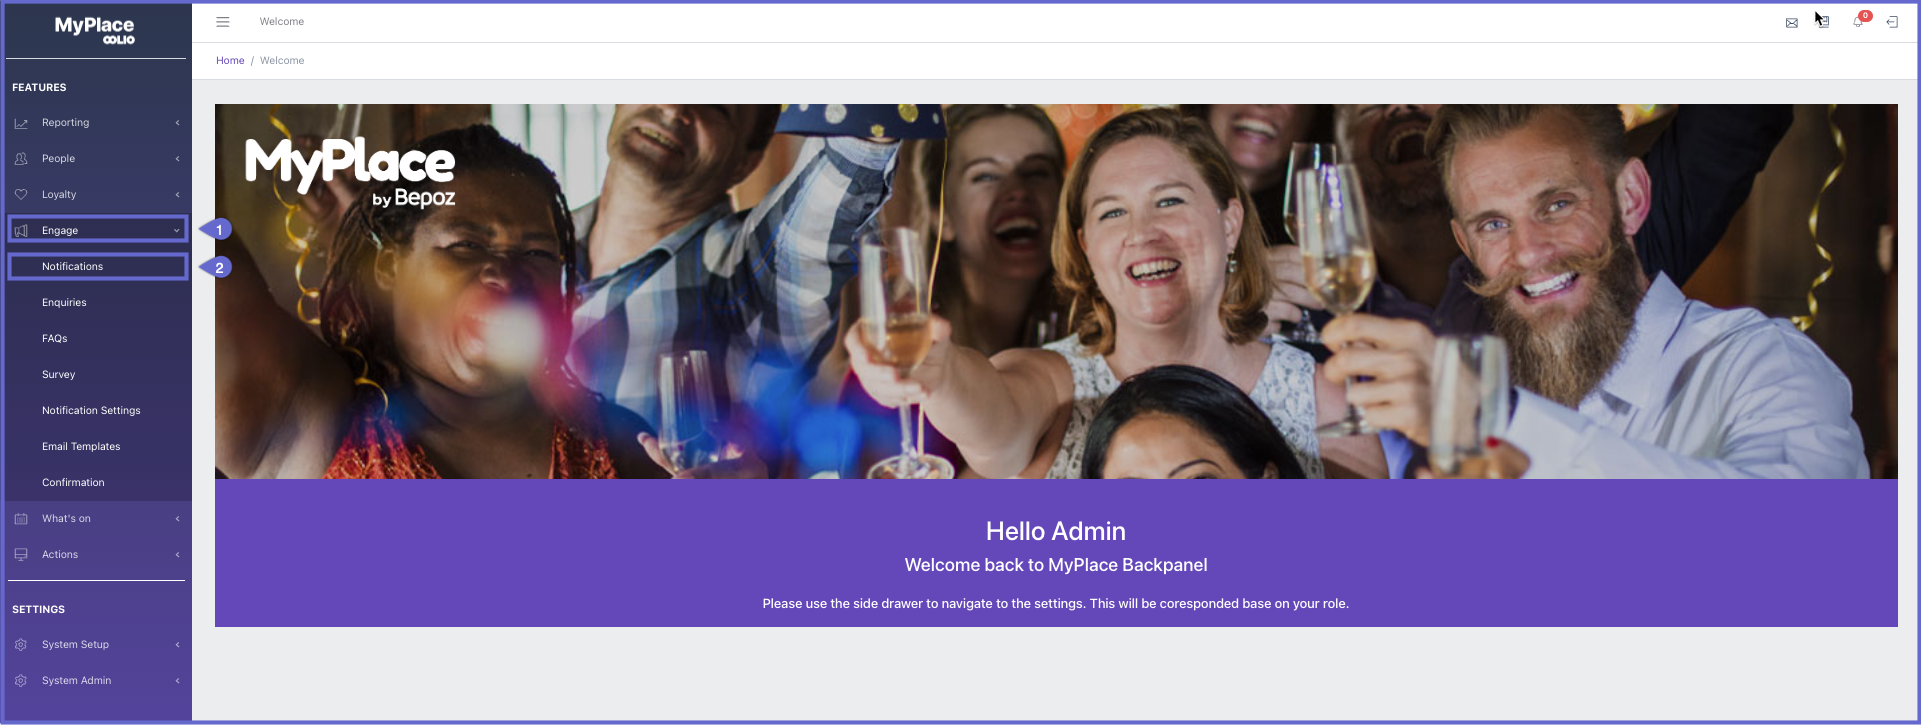
- After user logs in to the backpanel, admin users can click Engage. This will open a draw with several options
- Click Notifications
Creating a new notification

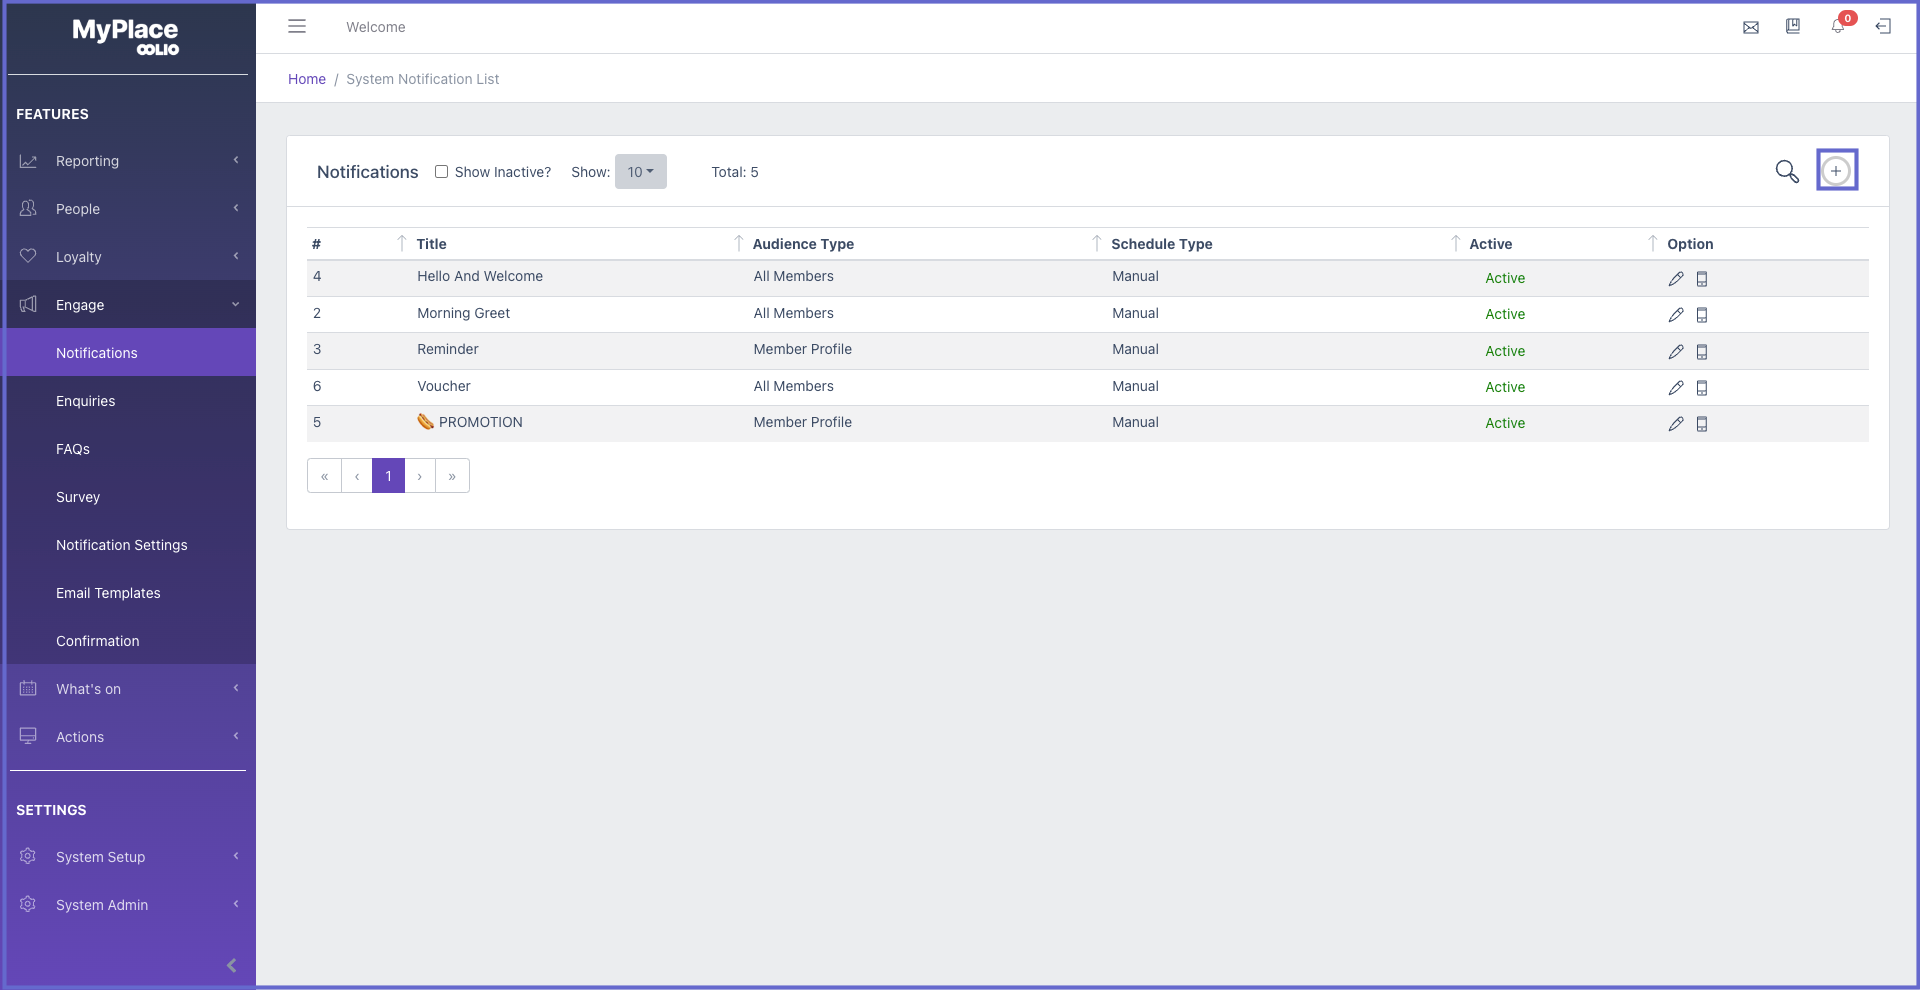
- Click the + icon in the top right and the 'Create System Notification' page will appear.
Updating a new notification

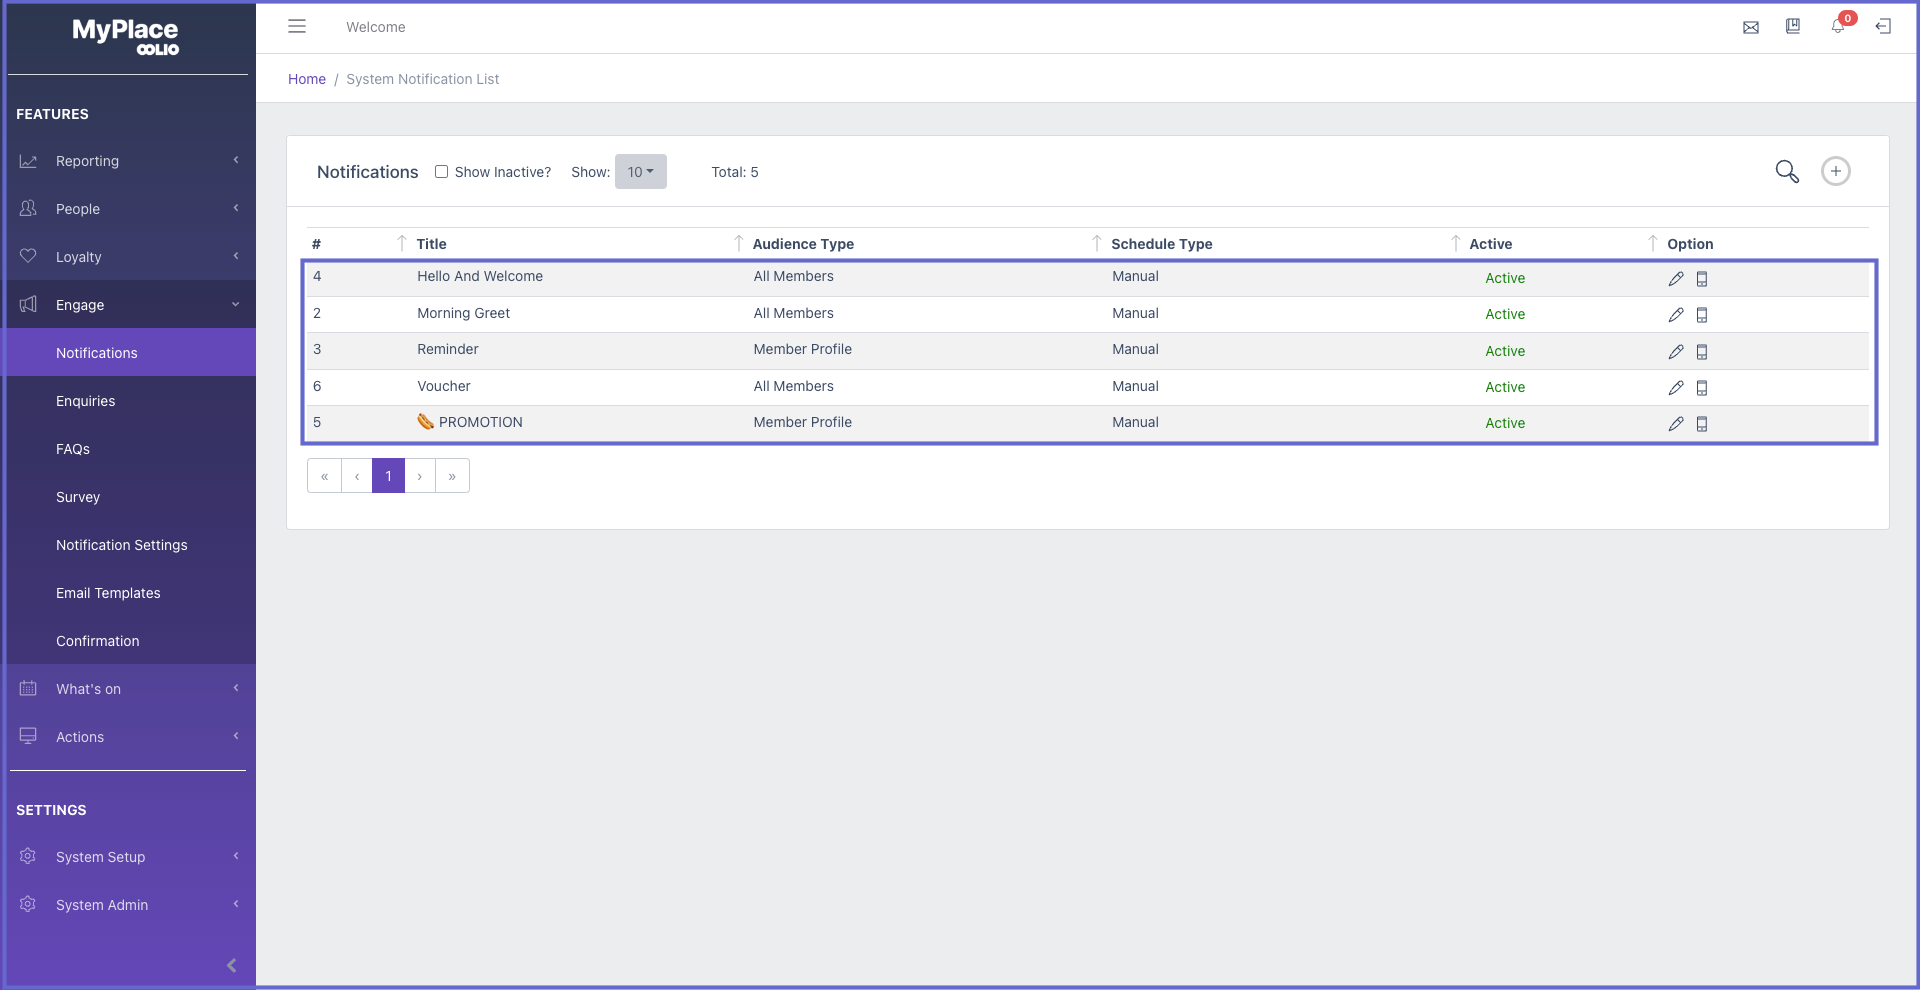
- Click any existing notification in the list and the 'Update System Notification' page will appear, with pre-filled inputs
Configurations
Main

Title - The label that will show in the push notification and system notification
Message - A short description to inform members of the marketed item
Inactive - A checkbox to disable the system notification
Page Redirect - This is a toggle that allows system notifications to guide members to a specific page when closed.
ON (Purple) - When system notification is closed, the member will be automatically guided to a specific page
OFF (White) - Member will not be guided to any pages and will remain on the homepage
Page - A dropdown list that contains all pages that have been added in app layout
Item - If the selected page is vouchers, gift certificates or offers then this field will appear. This allows admin users to guide members to a specific item, e.g. A specific voucher or offer
Target
All Members - Every member of the app will recieve the system notifications. This is good to use for major events and alerts of app activity

Member Tiers - Several checkboxes will appear with the tiers that have been previously setup. All Tiers checkbox allows admin to quickly select every tier, or they can click specific tiers as desired. This is good to inform your members of special deals but exclude your staff members.

Member Profile - This is a dropdown list with all existing active member profiles created in the backpanel. Admin users can target based on the custom fields set in Bepoz. This is good to use for targeting specific individuals of events that might interest them, e.g. It could be a soccer finals, which we can target all users that are into soccer to come see it at the venue.

Schedule
Notification Type: Manual - There is schedule setup needed for this notification type as the admin user will manually execute to send the notifications

When all inputs are finalised, simply click Save at the bottom right to keep the configurations for the system notification or cancel to discard
Execution

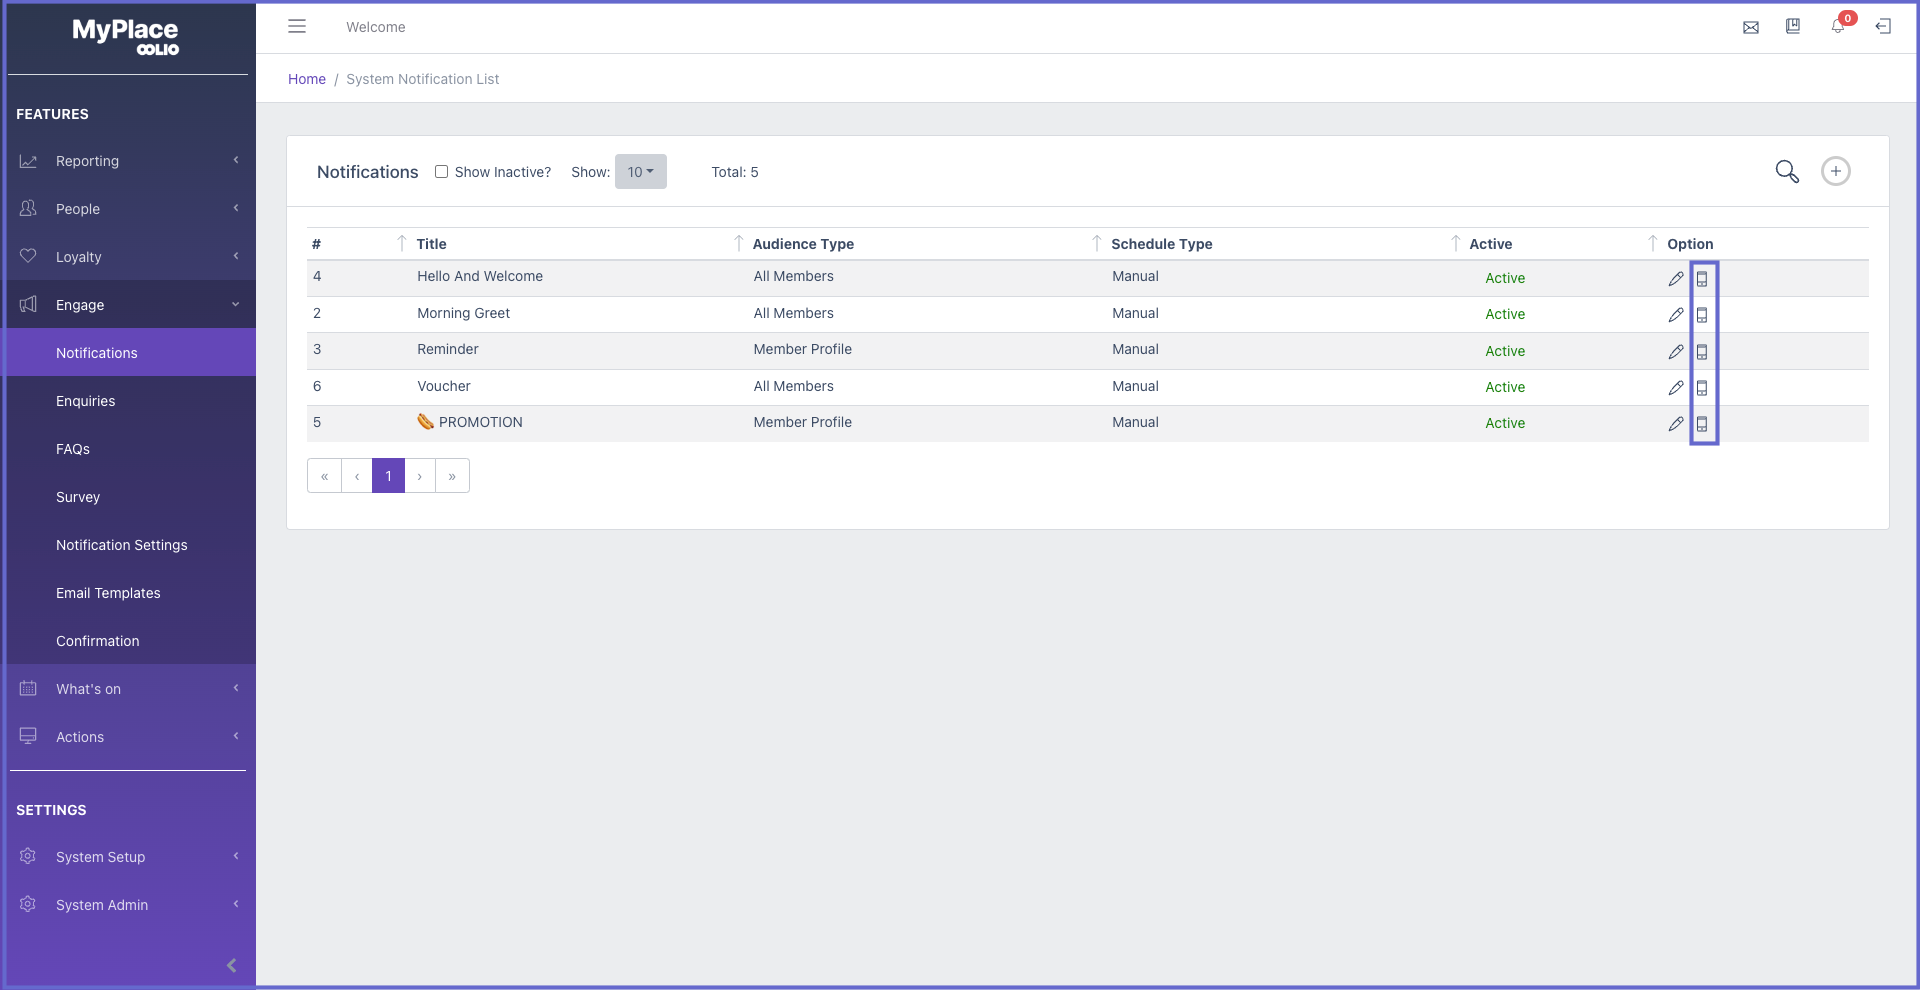
To execute the system notification manually. Go back to the notification list.
In the Options column of the list simply click  for the desired system notification and it will send immediately.

