
This article covers the "Flat" Till Scheme which can be set overall for the Organisation within Global Settings. Once the Flat Till Scheme is selected within Global Settings, each individual SmartPOS Workstation can be configured designed separately as needed via Workstation Maintenance.
This article covers the "Flat" Till Scheme which can be set overall for the Organisation within Global Settings. Once the Flat Till Scheme is selected within Global Settings, each individual SmartPOS Workstation can be configured & designed separately as needed via Workstation Maintenance.
Design options include Wallpaper, adding Sorts or Types to the Transaction Window, general Orientation, Sales Journal location, Tabs location, and Number Pad location. The Flat Till Scheme also offers optional Widgets which are maintained for each Workstation individually as well via Workstation Maintenance.
Prerequisites- To access Global Settings features, the applicable Operator Privileges will need to be enabled
- Operator Maintenance 'General' Tab
- System Setup: "Access Venue, Stores & Tills" Flag
- System Setup: "Maintain Venue, Stores & Tills" Flag
- System Setup: "Maintain Global Settings" Flag
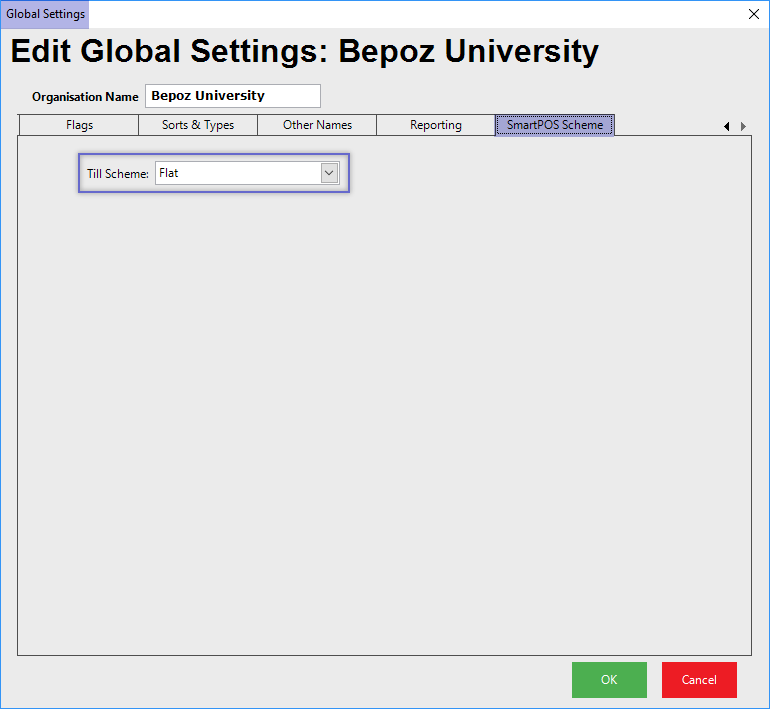
Global Settings - SmartPOS Scheme
- To begin configuring any SmartPOS Workstation with the Flat Till Scheme, the Till Scheme will first need to be configured via Global Settings
- This can be completed by navigating to Global Setting's SmartPOS Scheme Tab and setting the Till Scheme to Flat
Workstation Maintenance Configurations
- Once the Till Scheme has been set to Flat in Global Settings, each of the Organization's SmartPOS Workstations can be configured individually via each's Workstation Maintenance
- The majority of the Workstation setup as it relates to the Flat Till Scheme will be done on the Till Setup tab using the Design section
- Many of these configuration options are only relevant to the Flat Till Scheme; i.e., they are not used with the Classic or Tiles Till Schemes
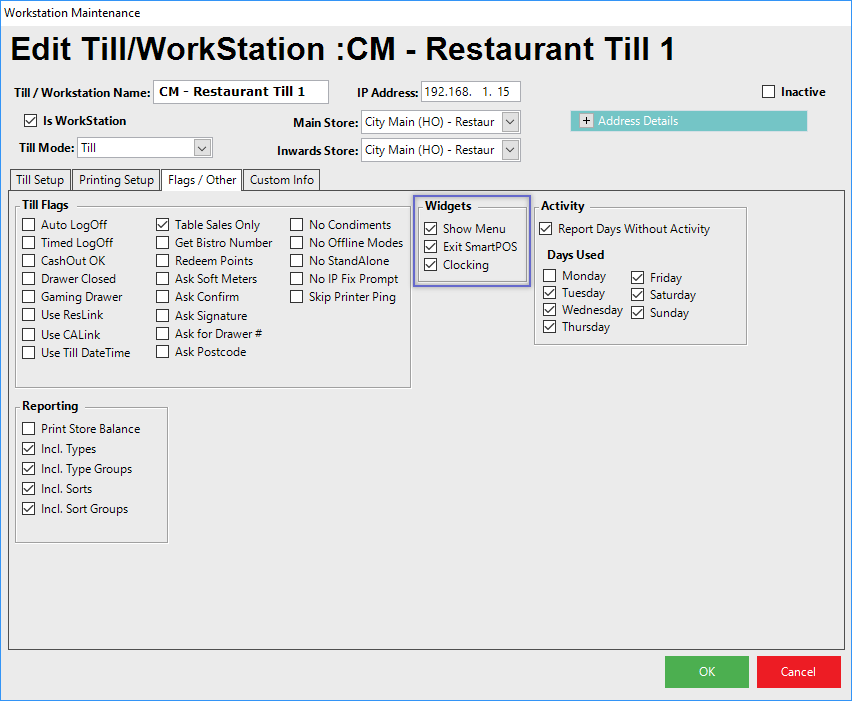
- The Widget Bar and Widgets which can optionally be configured to appear on SmartPOS Workstation's login screens can also be set via Workstation Maintenance, however, these are found on the Flags/Other tab
- The Widget Bar and Widgets are only relevant when using the Flat Till Scheme as they will not appear on the login screen when using Classic or Tiles Till Schemes
"Till Setup" Tab
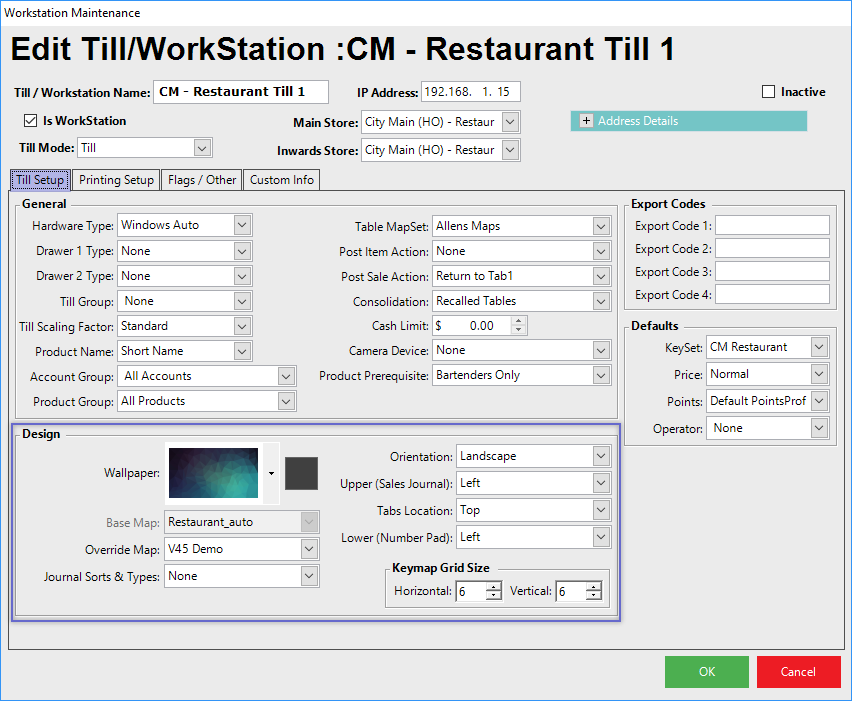
- The Design section of the Till Setup tab is where all of the settings can be located which will affect the overall look of the SmartPOS Workstation
- There are many different design setup options possible when combining different Orientations and locations of SmartPOS components
- While this article will not cover each and every combination that's possible, the table below will show at least one example of each option selected which relates to the Flat Till Scheme being used
- The available options here may be grayed-out (and therefore made unavailable) depending on which Till Scheme has been set in Global Settings on the SmartPOS Scheme Tab
- When using the Classic or Tiles Till Schemes - Wallpaper, Orientation, Upper (Sales Journal), Tabs Location, and Lower (Number Pad) will not be available
- These same settings when used with the Flat Till Scheme can be used however desired and in many different combinations depending on user preference
- When utilizing the Flat Till Scheme, the Base Map setting is not applicable and is therefore grayed-out
Configuration Option |
Description |
Visual/s (if applicable) |
| Wallpaper |
|
|
| Base Map |
|
N/A when using Flat Till Scheme |
| Override Map |
|
|
| Journal Sorts & Types |
|
|
| Orientation |
|
|
| Upper (Sales Journal) |
|
|
| Tabs Location |
|
|
| Lower (Number Pad) |
|
|
| Keymap Grid Size |
|
|


- Since the only settings on this tab that strictly concern the Flat Till Scheme are the Widget flags, these are the only options on this tab which will be discussed in this article
- The flags within the Widgets section are only applicable when the Flat Till Scheme is being used
Flag |
Description |
Visual/s |
| Show Menu |
|
|
| Exit SmartPOS |
|
|
| Clocking |
|
|


